


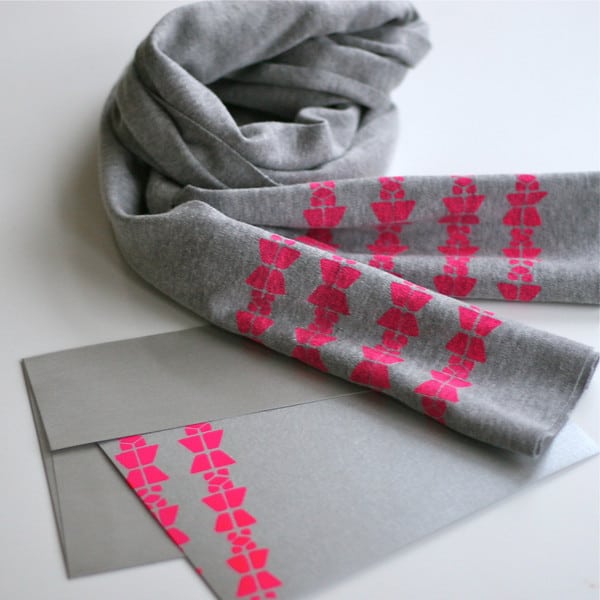
Plaid asked us to try out their Simply Screen Custom Silk Screen Kit (available exclusively at Hobby Lobby) so I thought it might be fun to make a simple raw edge jersey scarf with a new pattern I’ve been designing. Once I had a screen of my pattern, I wanted to put it on everything. Hello matching stationary! I was ‘this close’ to slapping it on the wall in my studio and starting to stencil.
Read on to see how I made it and learn more about the Simply Screen Custom Silk Screen Kit
There was a learning curve with this little kit but luckily there were lots of tips from other reviewers that made it easy and fun for me.
1. My favorite feature of this kit is that unlike other silk screening kits (like Gocco) you can use a black printout from any computer… or even just a Sharpie drawing! No need to go to the copy shop for laser prints. Also, no need to reverse your artwork with this machine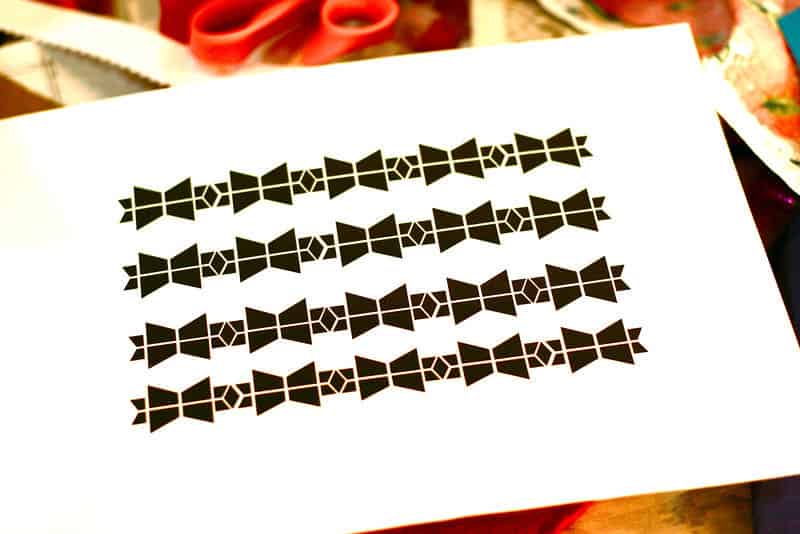
2. Peel the backing off of the screen and burnish it to your artwork. Then tape around edge to secure. The one real bummer about the kit was that the screens included with the kit did not work correctly. Nearly every reviewer had to use the second set of refills that Plaid sent. If you are going to get this, I recommend buying a set of refills and using that first so you don’t give up on the machine. Plaid is aware of this issue.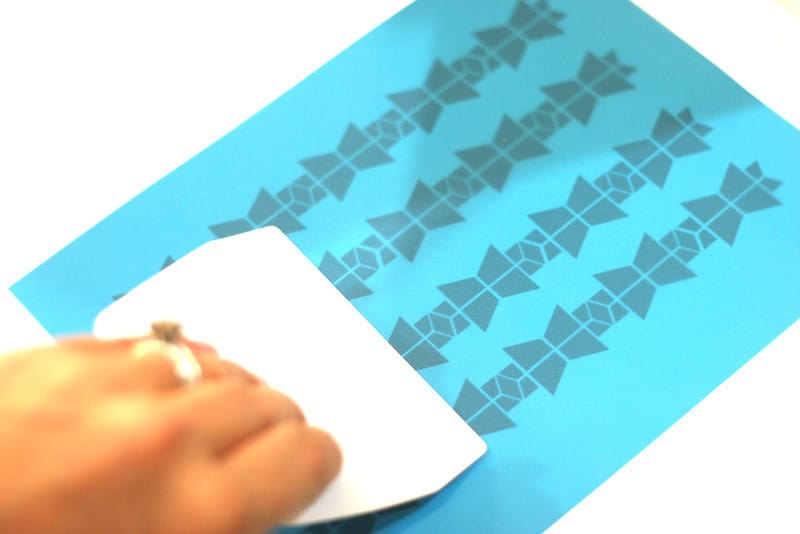
3. Place art in bottom of kit housing (the box.) Other reviewers suggested laying a sheet of glass (from a picture frame) over the art. This seemed to work really well. I might even take this a step further next time and sandwich the art between two sheets of glass t0 keep it perfectly flat. Then close up the kit, turn on the lightbulb and wait 25 minutes. 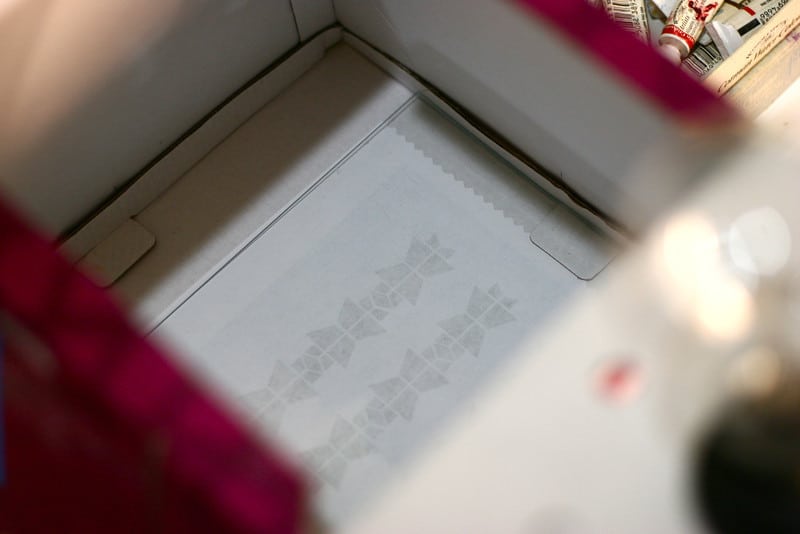
4. While I was waiting, I cut a strip of jersey, 12″ wide by 3 yards long. Obviously feel free to make a scarf less than 9 feet long. Personally, I like the length.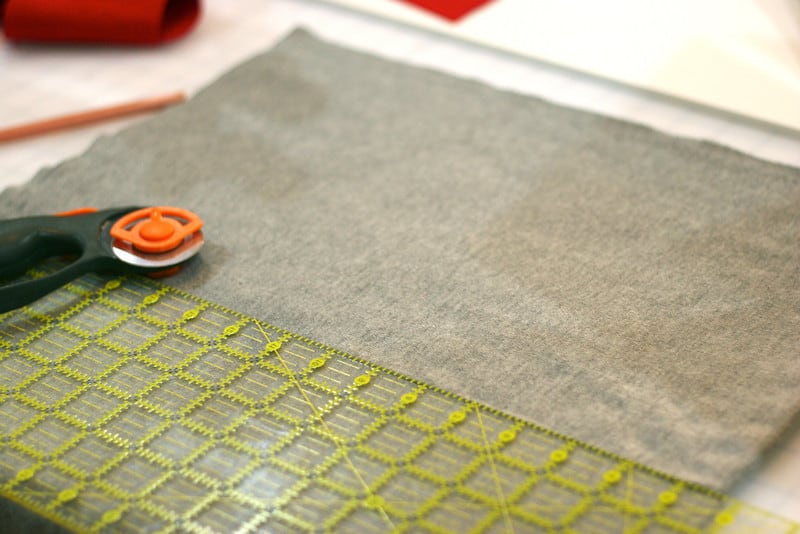
5. Ding! Screen is ready. remove it from kit and soak in tepid water for 30 seconds. You can use the tray that came with the kit, or any tray. Some reviewers had issues with the texture from the tray affecting their screen.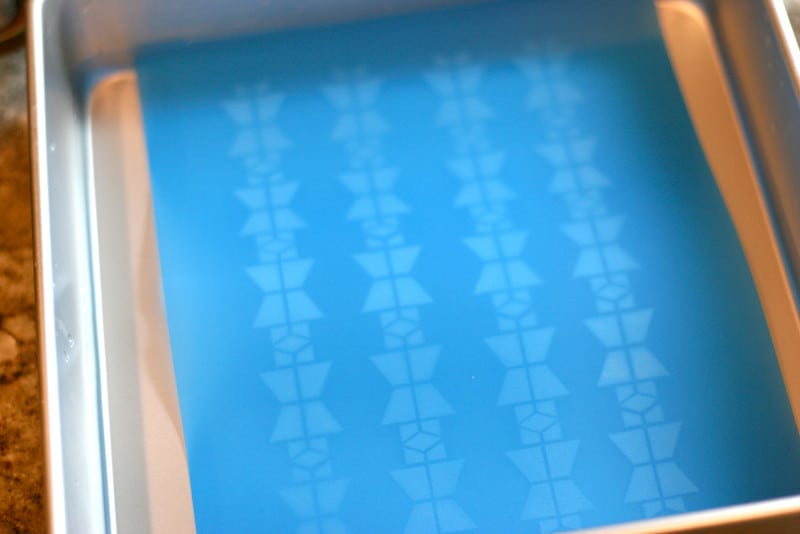
6. Rub the screen on both sides with the sponge and watch your design appear. Make sure you get all of the emulsion. Don’t scrub too hard, you might remove too much! This was quite simple and worked well.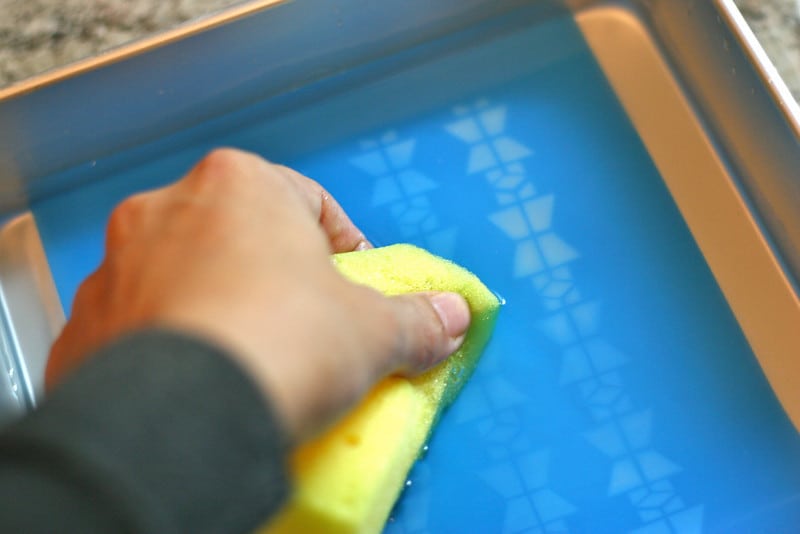
7. Pat screen dry with paper towel.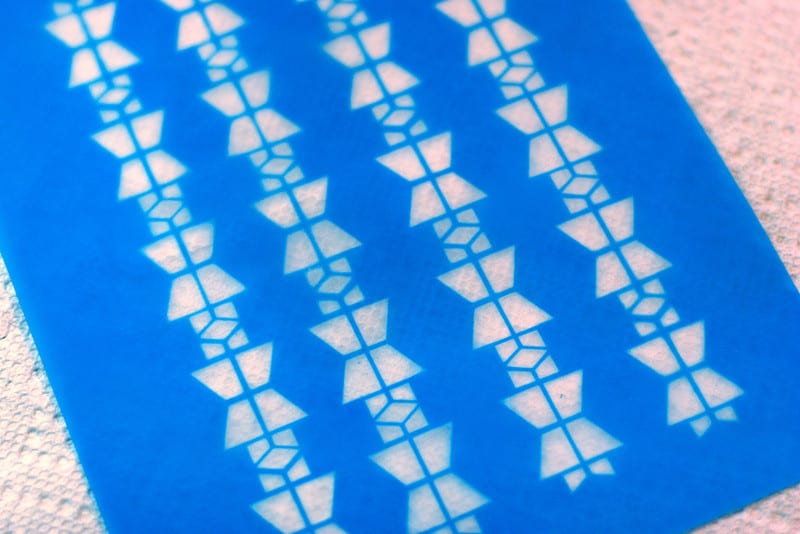
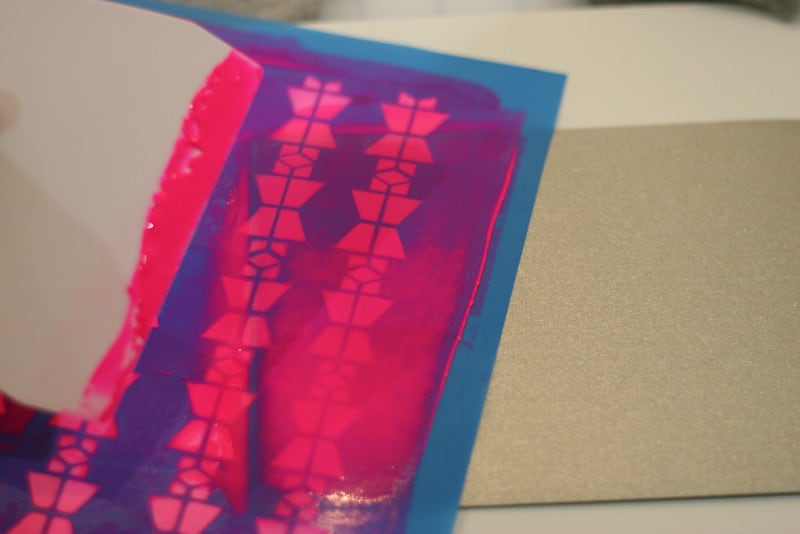
8. Lay your screen on fabric. No need to tape!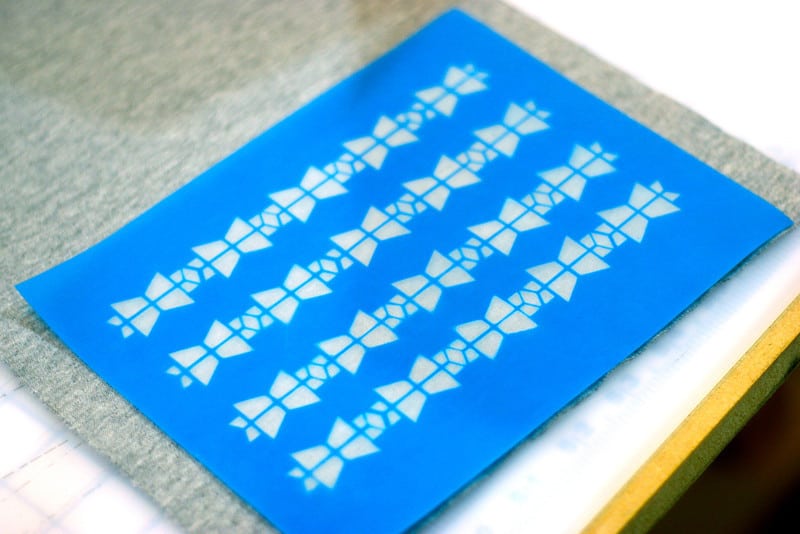
9. Run a generous line of silk screen paint along top of screen.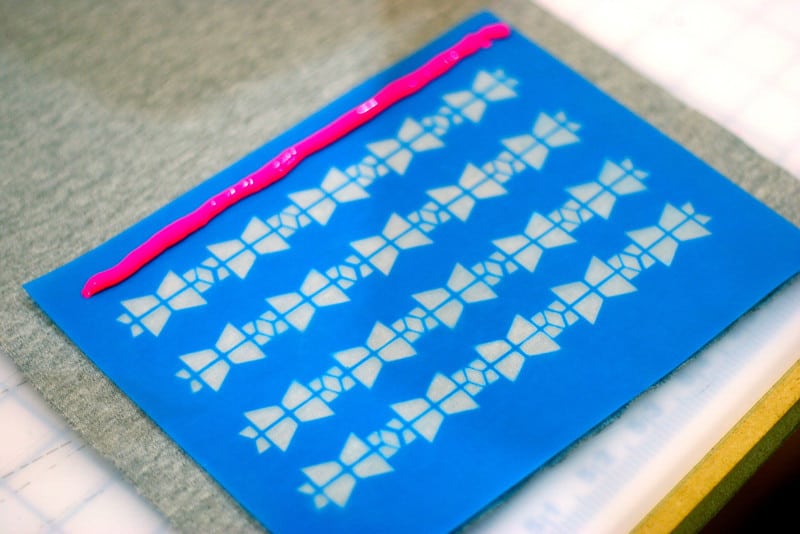
10. Use scraper tool and smooth paint over surface of screen.Add more paint if needed. Make sure you get it all!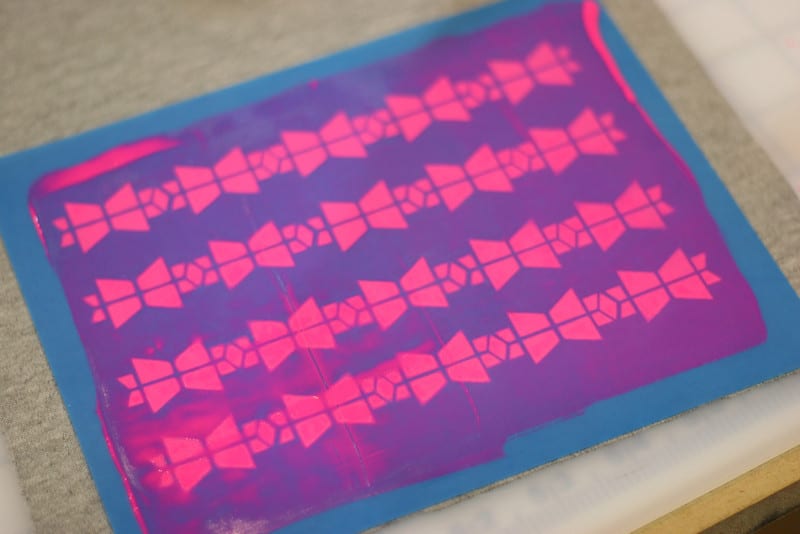
11. Lift screen and there is your design. Hot pink! Sassy!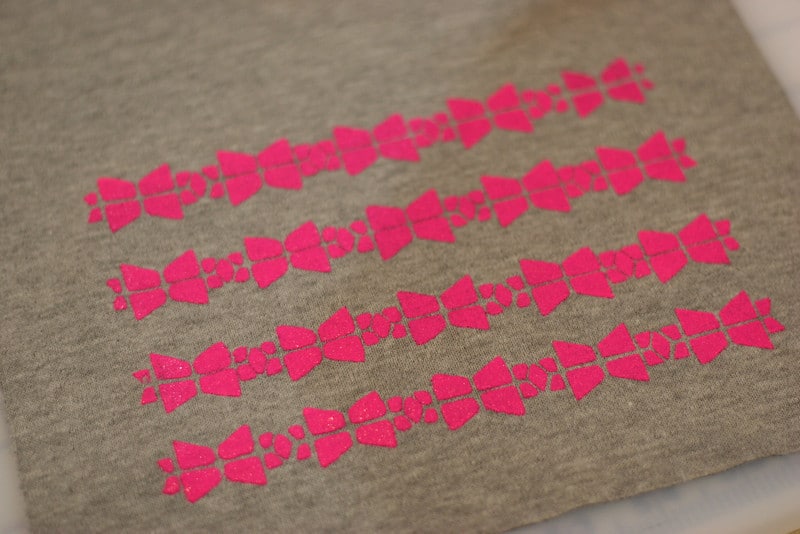
12. The design was nearly flawless. I only touched up one spot with a paint brush.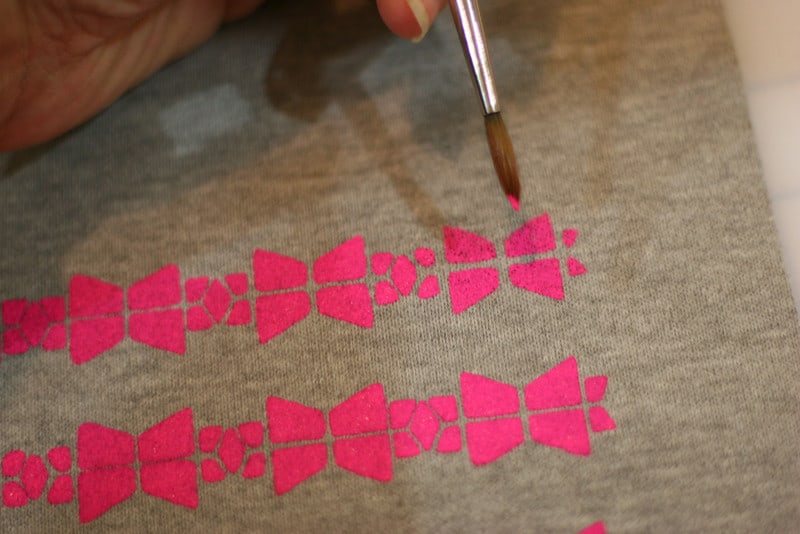
13. You can see where the design closed in in a few spots. That was really because my art was so detailed. Overall, I was very happy with the quality.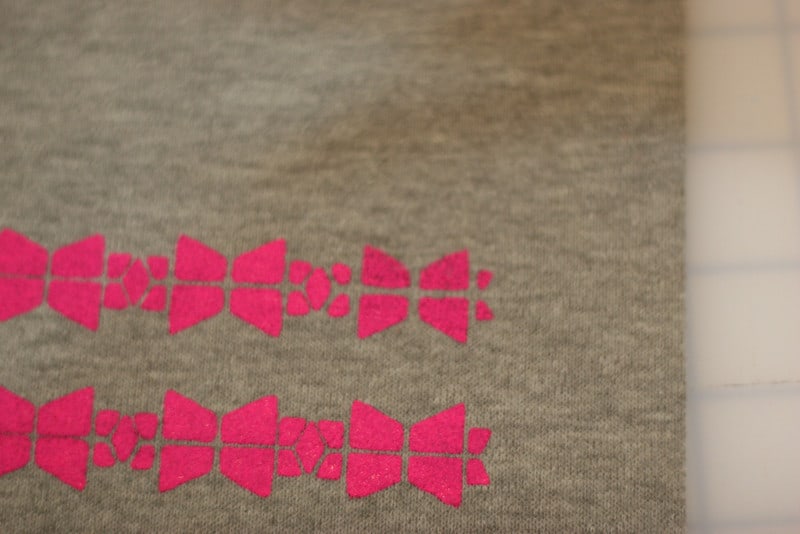
14. And then you will want to put your pretty design on everything. Like shimmery notecards!

The directions say to let your design dry for 24 hours. Iron to set ink and then let “cure” for 72 hours before washing. I love this as a DIY gift!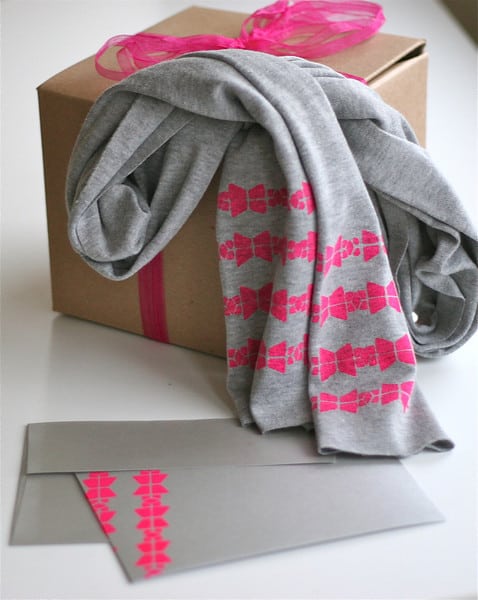
If you have any questions, let us know!
Plaid supplied the materials and compensation for this review but the opinions are our own.
Awsome this reminds me of the way we did them in our screenprinting class. So fun!
You are inspiring me to retry my stencil as a scarf.
I was afraid to use the bright pink, but leave it to you to make something so lovely and chic! Adoring the matching card!
This looks like it would be a lot of fun!!! I also love that you matched a card to the scarf!
okay, so I've purchased one of the kits (back around Thanksgiving) but haven't used it yet. If I contact Plaid, will they send me a "replacement" screen? I shouldn't have to "buy" another one if the one provided in the kit is defective. (however, I do plan on buying more screens, once I've tried it to see if it is to my "liking". I've just been a bit hesitant to try, as this is something new for me.) I bought mine at Hobby Lobby (I had a coupon). I have to "sit back and think about something" when it is new, but something I want to try. Now, I think I'll try it after reading your "review".
Hi Crafty Ma'am!
Don't be scared. : )
Give it a try with the enclosed screens. Most kit screens have been fine. I definitely suggest using the glass as described and processing for exactly 25 minutes. Then if they don't work, feel free to contact customer service. They are really nice and will help you out. Good luck!