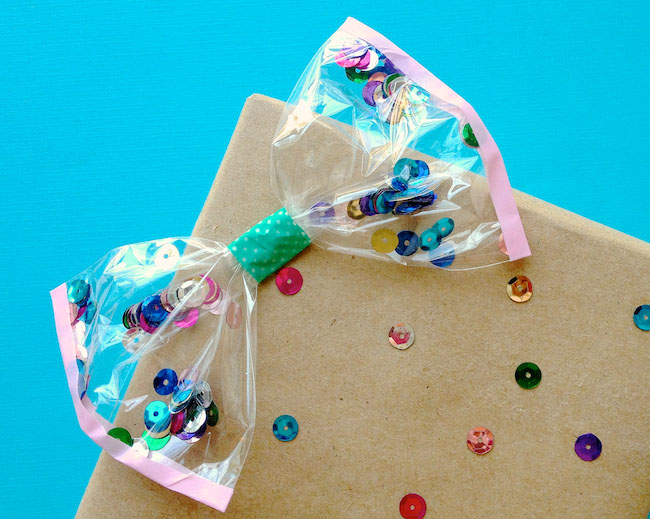
Since the gift-giving season is almost here we wanted to share these adorable DIY Confetti Bows made by Marisa from Omiyage. You might remember her from the cutest DIY Washi Tape Popsicle Cards this summer. I love the look of these bows and how different you could make them by mixing and matching washi tape and confetti colors. I want to try and make modern ones with black and white polka dot washi tape with black, white, and neon pink confetti.
While you have the confettti out, try making Marisa’s Confetti Mail and Confetti Dots Drawstring Bags. Decorate holiday presents with Washi Tape Bows
Find out how to make DIY Confetti Bows after the jump…
DIY Confetti Bows
I have a little secret to share – I’m in the midst of a sequin love affair.Sequin trim makes for some seriously sparkly gifts when used in place of ribbon. But, the thing about working with sequin trim is, it likes to shed. But rather than get frustrated, I got creative with the loose sequins! So here’s the scoop on how to make adorable confetti bows – one of a kind gift toppers which will look amazing under the tree or on top of the birthday present pile!
Don’t feel limited to sequins, you could really fill these cuties with any lightweight & colourful material you’d like. Tissue confetti or colourful sprinkles would be really sweet too!
I must admit, I’m kind of a big fan of these bows – they’re fast to make but are ever so cute! I’ve paired them here with some DIY sequin gift wrap, but I think they’d be just as cute combined with washi tape ribbon strips.
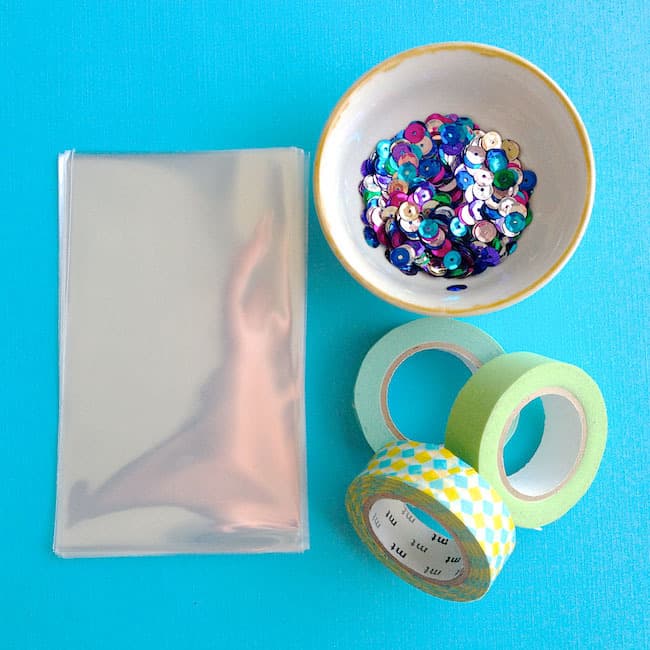
You will need:
Clear flat polybags – I used 3″ x 5″ bags
Sequins – or your choice of filler
Washi tape
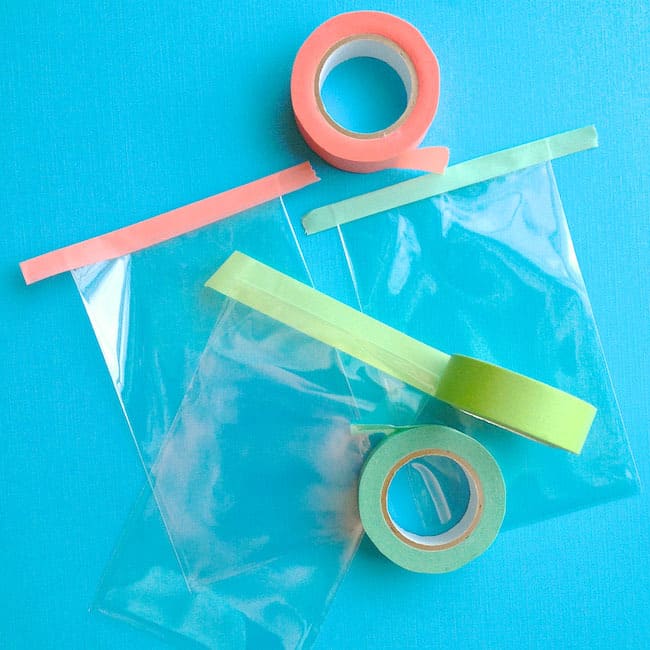
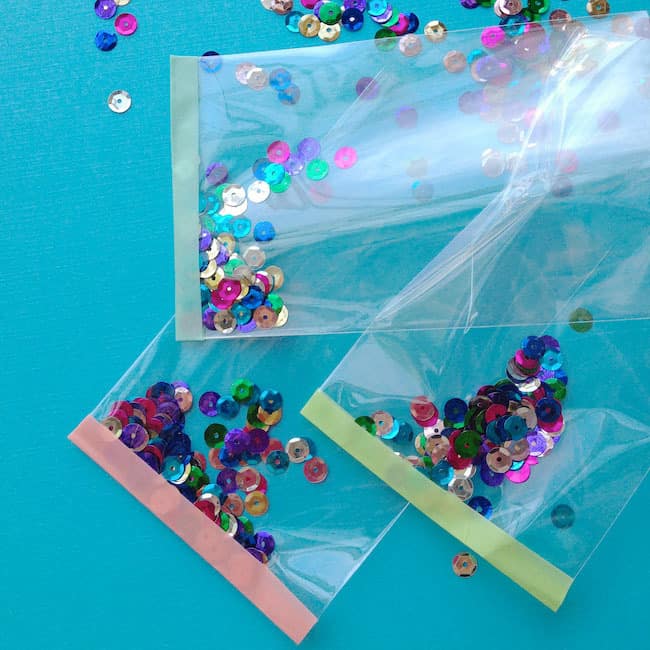
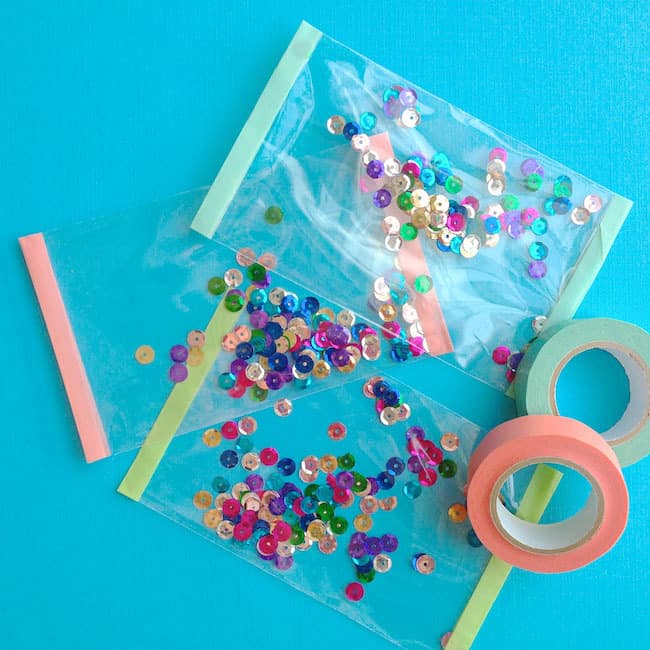
Start by applying a strip of washi tape to the closed end of your bag. Centre the edge of the bag in the middle of the washi tape strip, then fold over.
Trim the edges of the washi tape so that the ends are flush with the edges of the bag. Careful – don’t cut the bag!
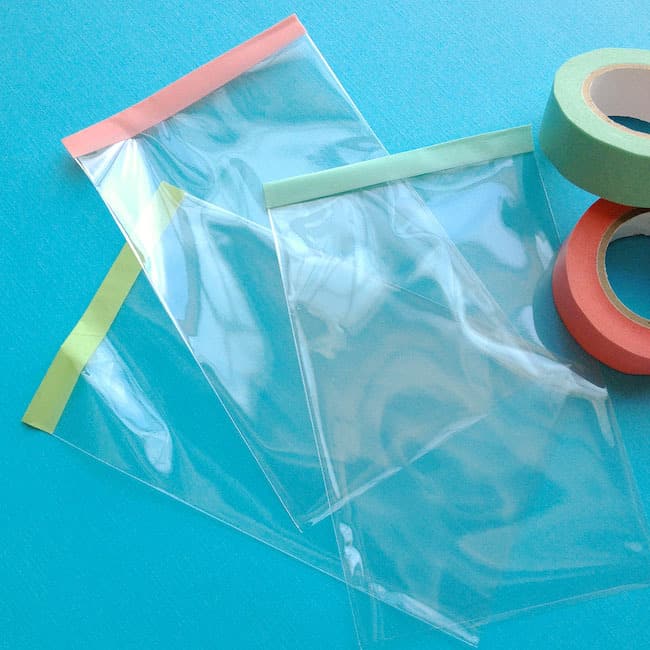
Place the desired amount of confetti into the bag – I used a large pinch of multicolour sequins.
Once desired amount of confetti is in the bag, seal the open end with another folded over strip of washi tape.
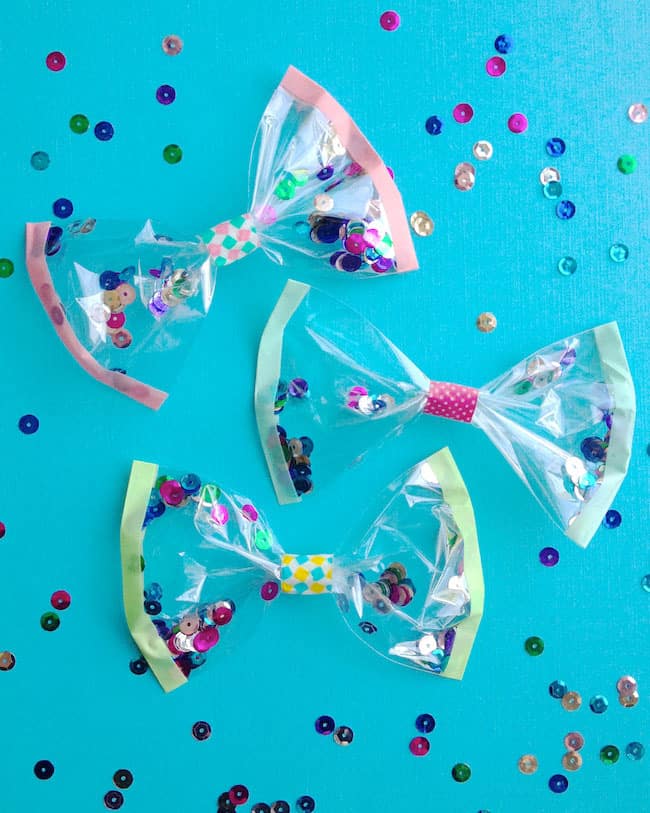
To turn your confetti-filled bag into a bow, first determine the centre of the bag. Holding the centre, shake the confetti towards the two ends. You want there to be approximately the same amount of confetti on each side of your bow. Pinch the centre of the bag between your fingers. With the other hand, wrap a strip of washi tape around the centre of the bow. Adjust the two sides of the bow until you are satisfied with the appearance.
Try different combinations of washi tape for different looks.
When you’re ready to wrap, attach your bow to the top of your gift with a loop of washi tape or a glue dot.
Would you try making confetti bows like these?
Happy crafting!






I love these. A lady in my church made some of these for me when I was a child but attached them to hair bows. I had some in purple, green with shamrocks for St. Patty’s Day and Christmas confetti too. She just taped them in the middle around a hair clip (the kind you pinch on the end and it pops open). You couldn’t hot glue these as the vinyl would melt. I might make some of these for my daughter only make mini ones.