


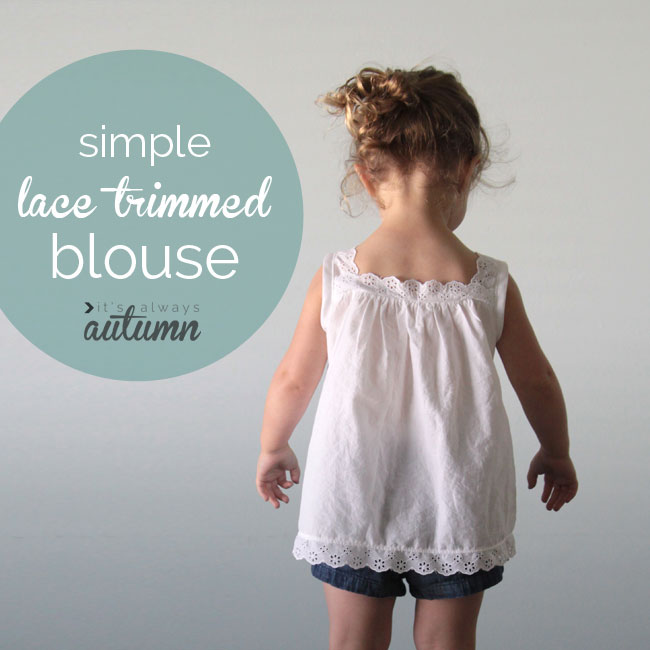
Today we have an adorable sewing tutorial from It’s Always Autumn. This pretty, lace trimmed top makes for a great beginner sewing project just in time for spring. Autumn will show you how to cut the pattern based off your child’s measurements, and the steps to sew it all together. Afterwards, learn how to embellish a cardigan or top with her DIY Doily Collar, and snap a few great pics of the finished product with her tips for photographing your kids at home.

Check out the DIY Sweet Lace Trimmed Blouse after the jump…

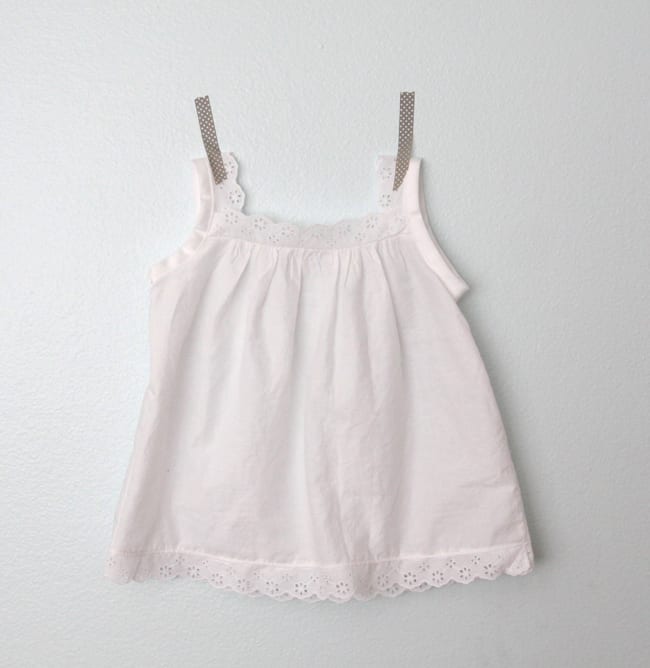
We live in a world where pink = girlie, but I think white can actually be the most feminine color, especially with a little bit of eyelet lace. It’s simple, old fashioned, and just plain pretty. White may not be the most practical color for a two year old, but I adore how it looks, and there’s always bleach, right? This is an easy to sew blouse with a loose, comfy fit, and I want to dress Lily in it every single day. I’m just a little bit in love with her in this blouse. Anyone with basic sewing skills should be able to handle this top and it’s simple to sew in any size you need. The instructions might look long, but that’s just because I tried to show a photo of every single step. Keep reading for more photos and tutorial.
If you’d like to make a similar blouse, you’ll want a lightweight woven (not stretchy) fabric. I think mine is a very lightweight muslin (it’s from a thrifted nightgown so I’m not sure). You’ll also need a yard of double fold bias tape and 2-3 yards of flat eyelet lace. The only eyelet lace I could find at Walmart was gathered and I didn’t feel like driving to another store, so I just unpicked the gathers and ironed it flat.
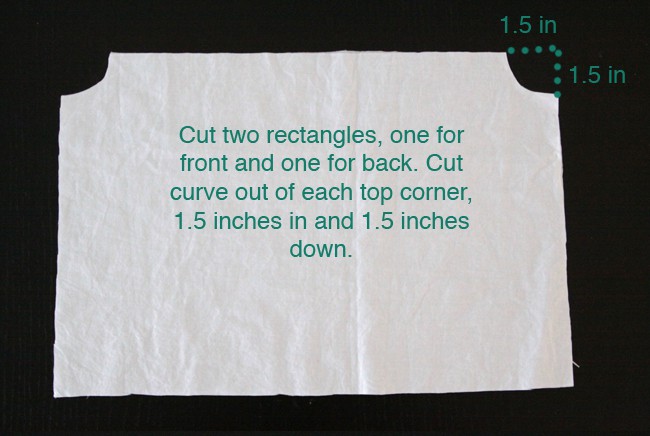
Here’s how to figure the dimensions for your fabric:
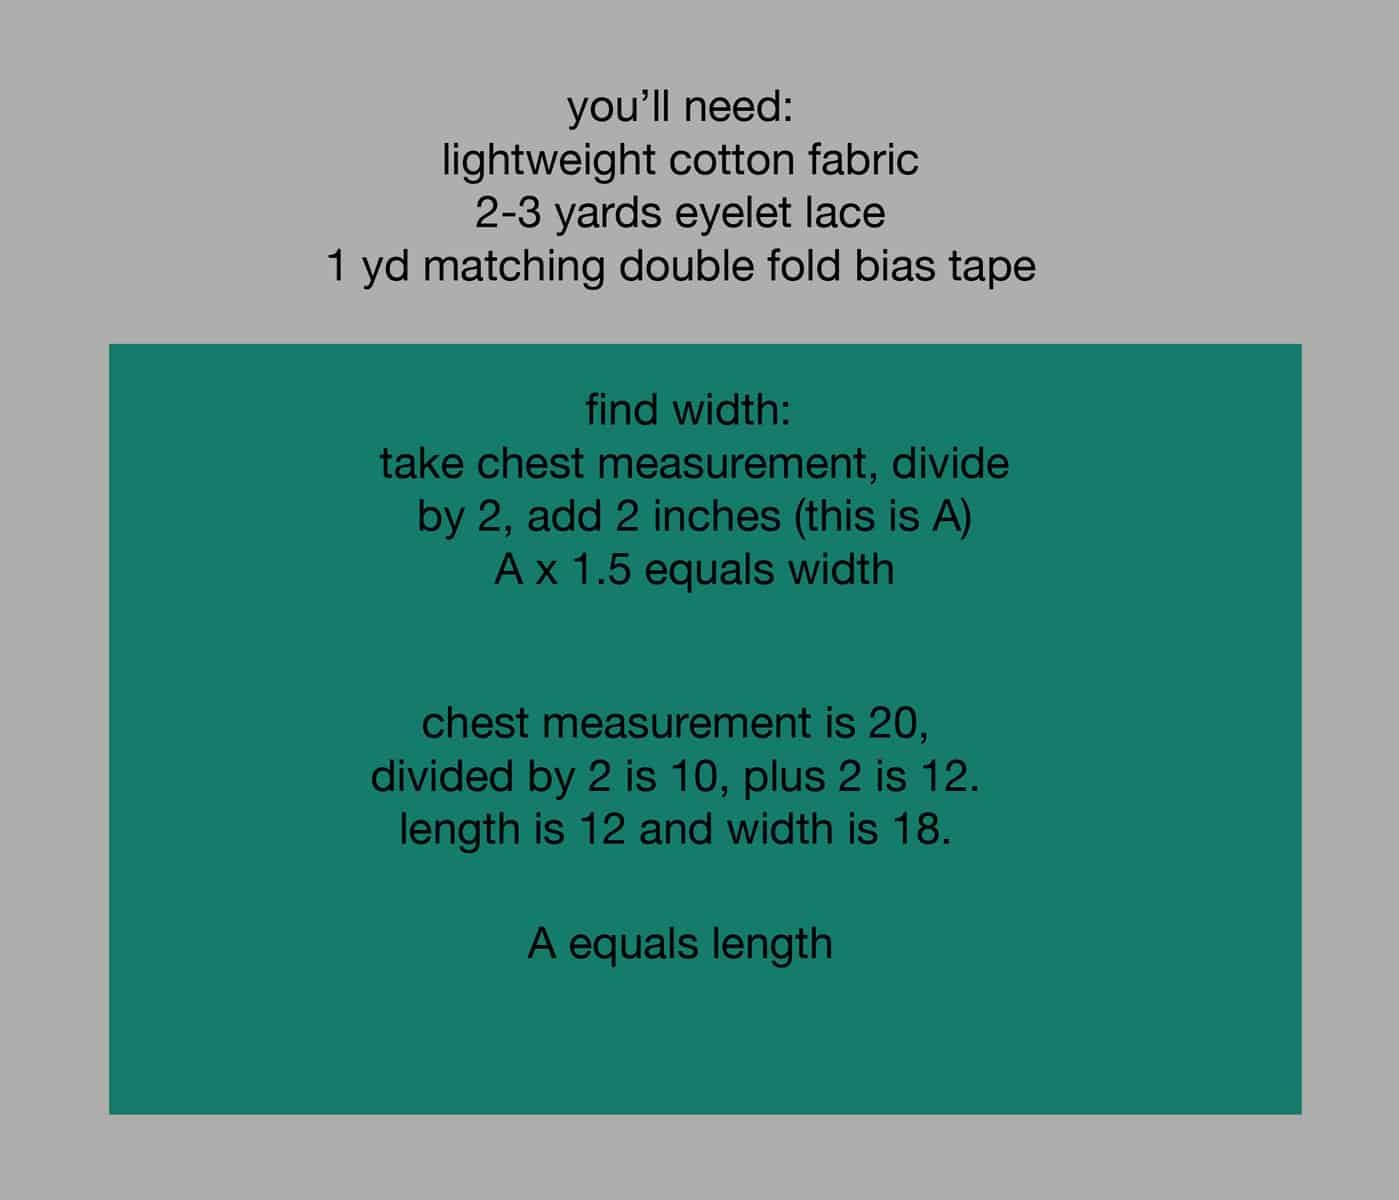
So use the formula to find A, then use A as the shirt length and A times 1.5 as the shirt width. I’ve included the actual measurements I used for a 2T size shirt as a guide from here on out in parenthesis. You’ll want to use a half inch seam allowance on all seams, although it’s not a fitte blouse so a little either way wouldn’t matter too much.
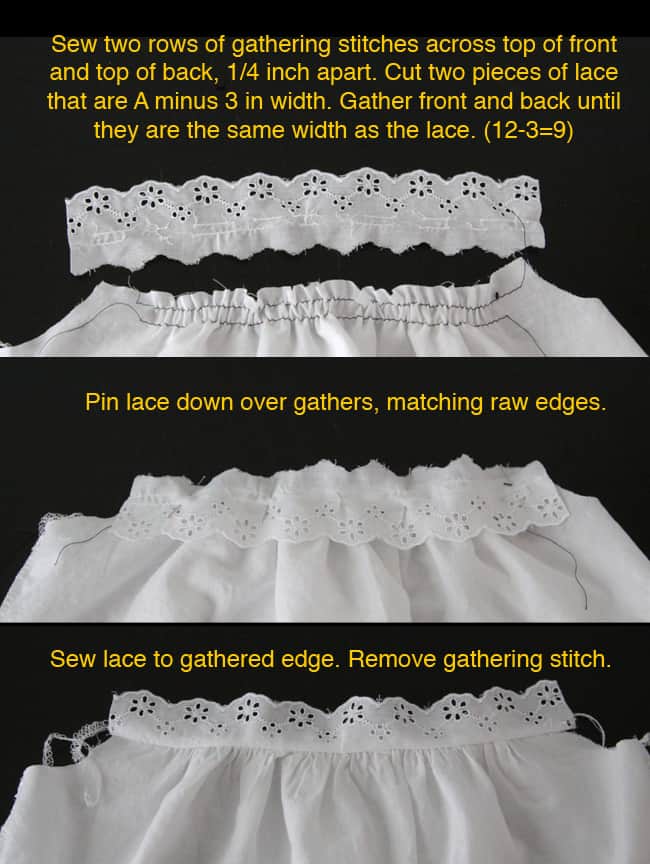
(To sew gathering stitches set your stitch length to the longest it can be, then set your tension quite low. This will allow you to pull on the lower thread and gather the material.)

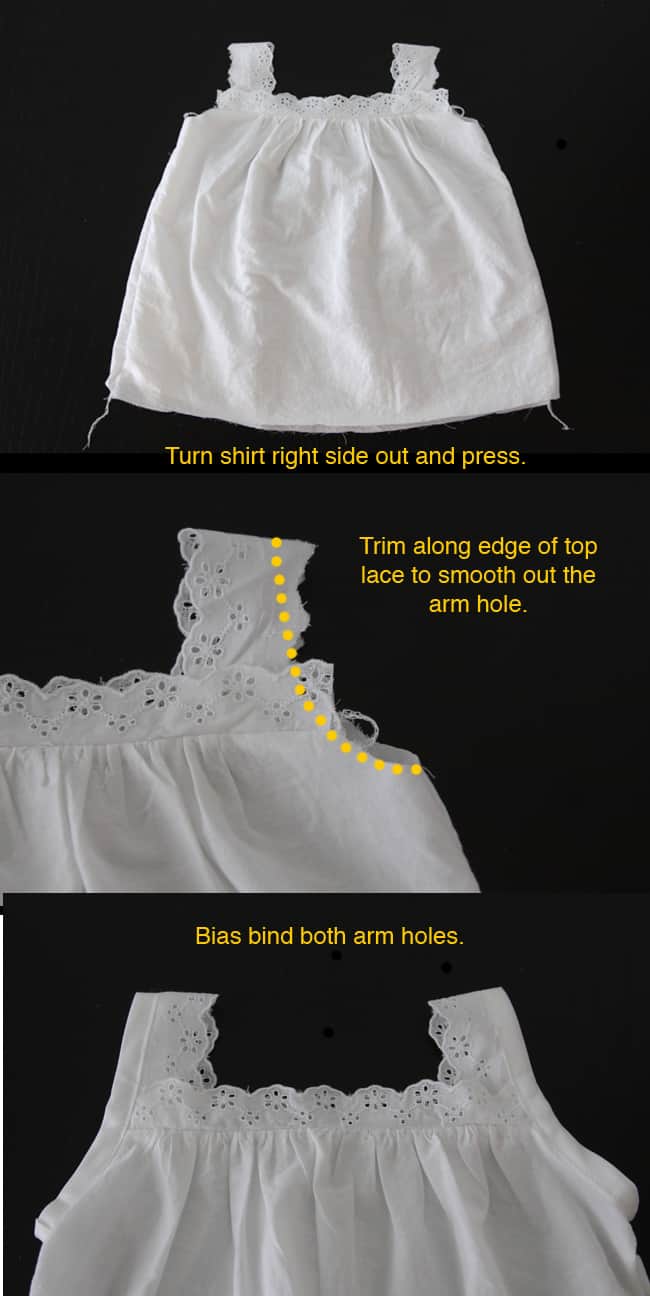
(New to bias binding? You’ll find lots of tutorials online.)
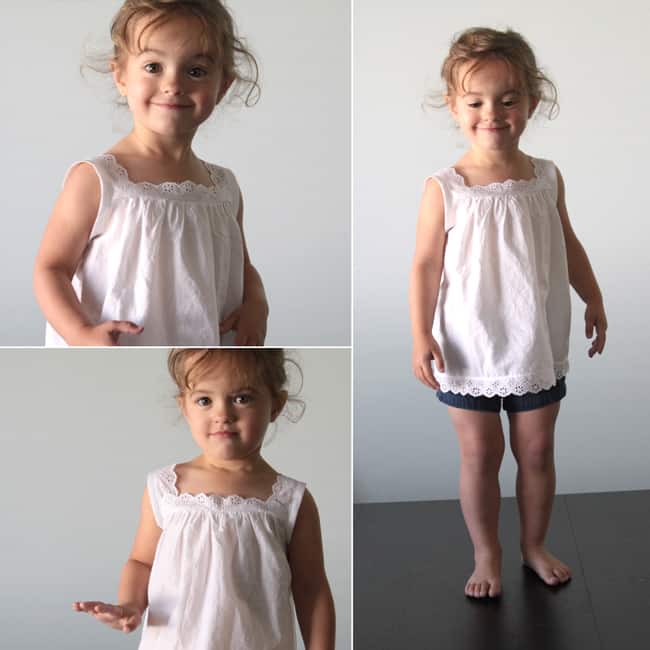
Finished!
I kind of want one for myself now. But I’m pretty sure I wouldn’t look as cute in it as she does:
Want more sewing for girls tutorials? Check out one of these projects:
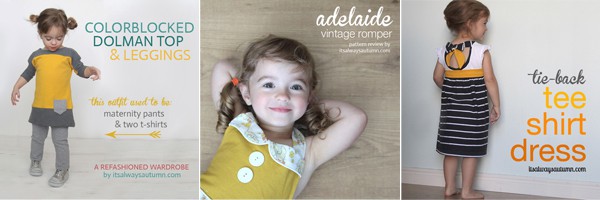
upcycled colorblocked dolman top | Adelaide vintage romper pattern review | tie-back tee shirt dress
Lovely!!! I should sew one for my daughter.
Thank you!! I will be making thus very soon.
This is so cute! Love it! Thank you for sharing.
This is ADORABLE!!!! Thank you!!!
I’m in love!!
So sweet!
I shall have to make one of these for an 18″ doll, I think!!! 😉
wow very sweet! thank you for sharing!
I just wonder if smaller baby with bigger head could get through the top without the neck opening.
[…] I made this too-cute-for-anything dress, based on the tutorial here. […]
Thank you…I love this top.(And your little model is just ADORABLE!)
Thank you! I’ve been looking EVERYWHERE on how to add lace trim! Nothing sweeter than a baby girl in lace 🙂