


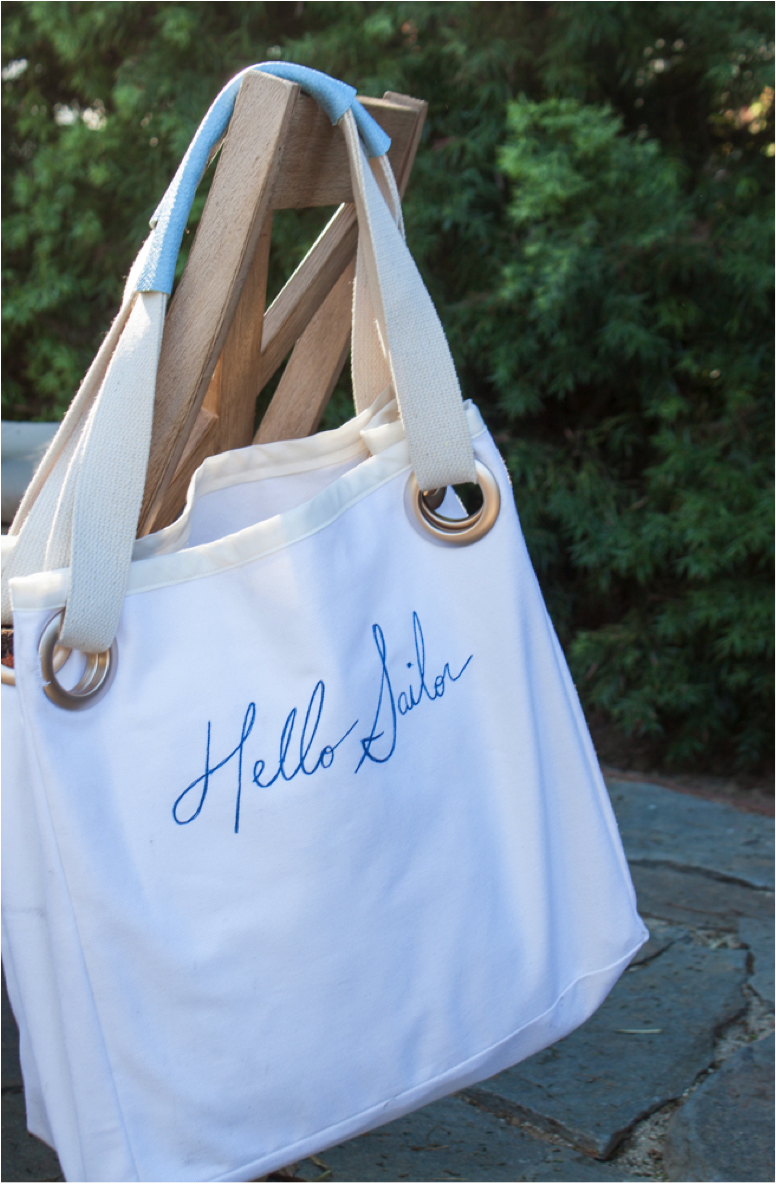
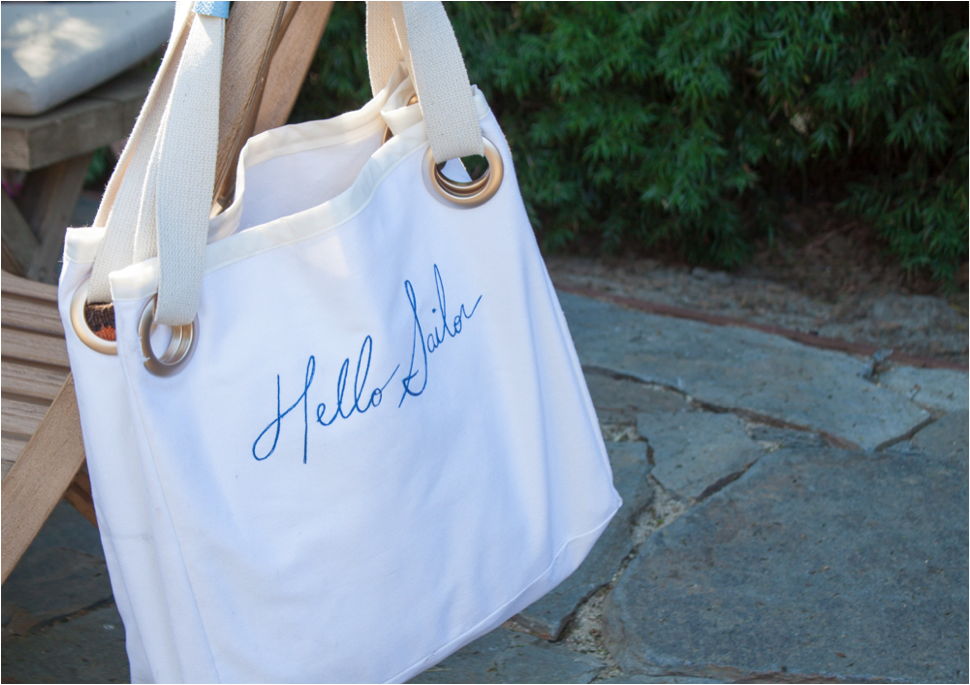
Carleton, Scarlet, and I are heading to the Caribbean on a Carnival cruise adventure this Thanksgiving, so I decided to make myself a nautical-themed tote and share the DIY with y’all.
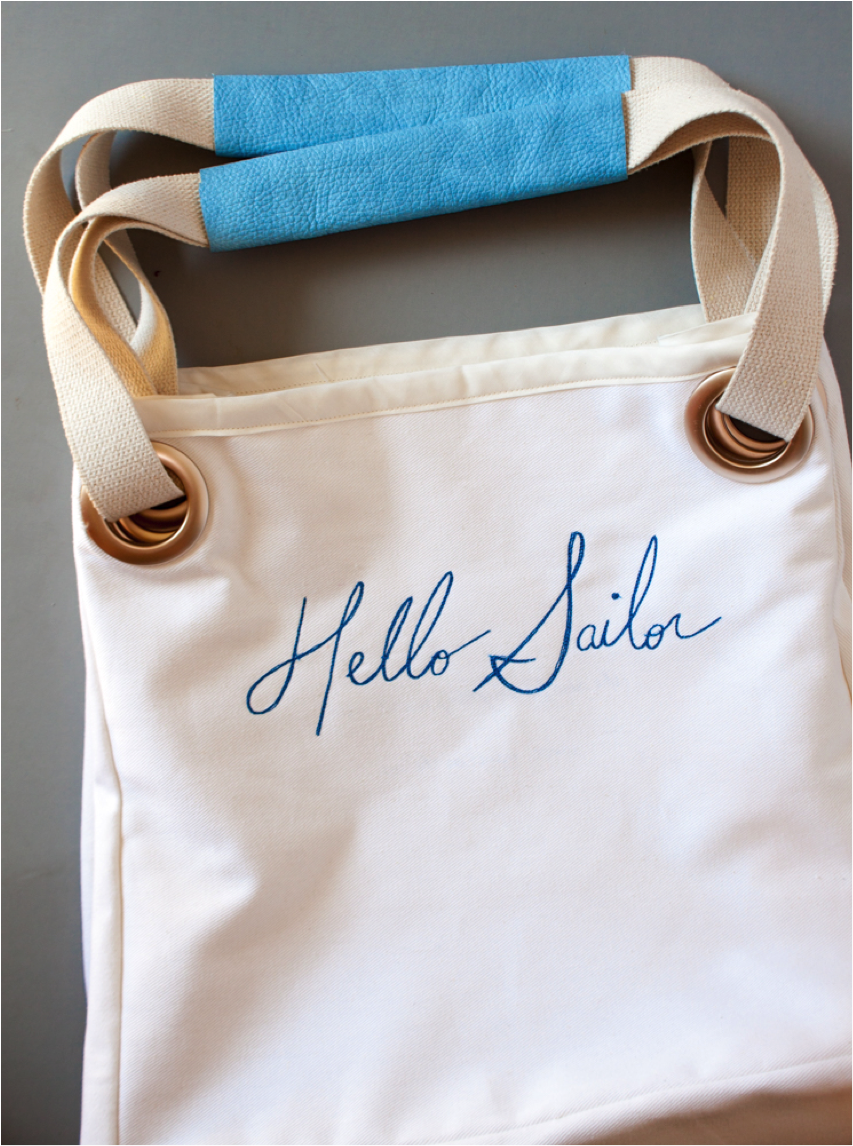
It’s so much easier than it looks. The grommets and long drop on the shoulder make it extra helpful for lugging all your gear poolside or anywhere you are heading this fall. I even added some fun embroidery (I couldn’t resist this “Hello Sailor” pattern).
Get the DIY Grommet Tote tutorial after the jump…
First, you’ll need to cut your fabric. I used an off-white denim for extra sturdiness.
For the lining (I used the same denim, but you could use a contrasting color):
Cut 2 pieces 15″X16″
Cut 1 piece 7″X 47.5″
For the outside of the bag:
Cut 2 pieces 15″X16″
Cut 1 piece 7″X 47.5″
Heavy weight interfacing (for the base of the bag):
Cut 1 piece 15″x6″
1″ Inch Double-Fold Bias Tape (for the top of the bag): 46″
For the straps:
Cut two pieces 1.75″ width cotton webbing to approx 54″ length (measure against your shoulder to see what drop you want when you get to that step and adjust accordingly)
Cut two pieces leather (or faux leather) 4″X8″
And you’ll need a set of 8 snap-in curtain grommets (I used matte gold) in the standard curtain gromment size of 1 9/16″.
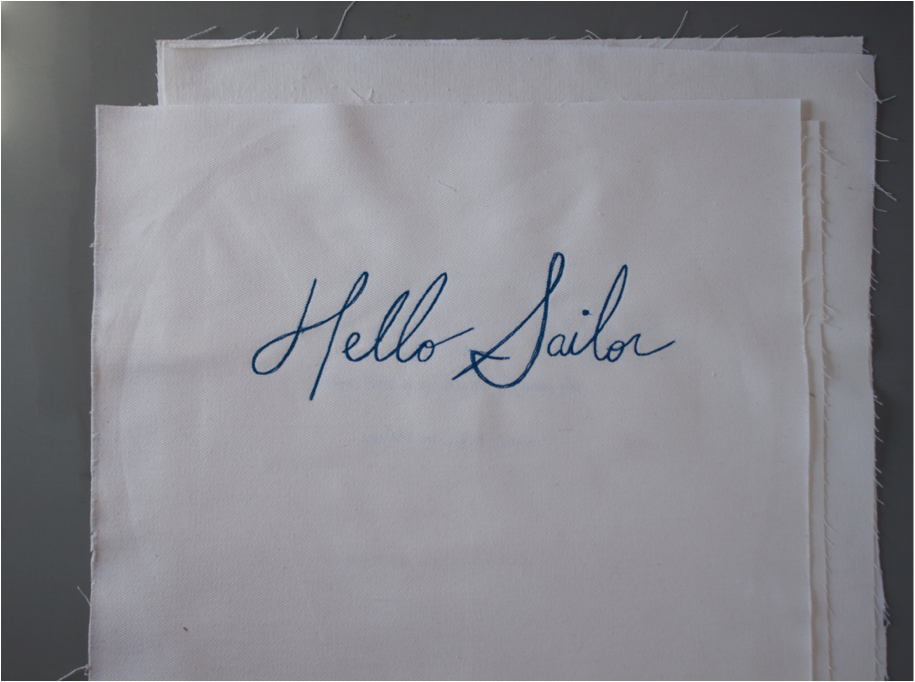
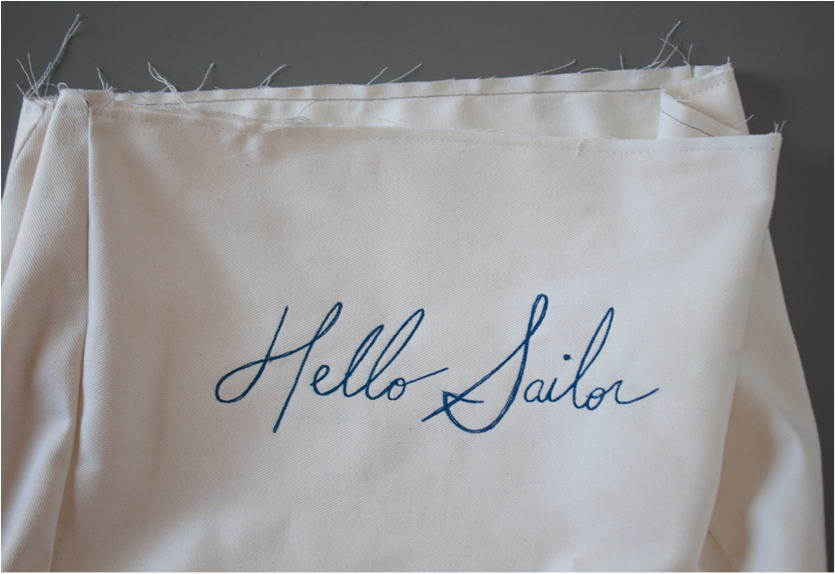
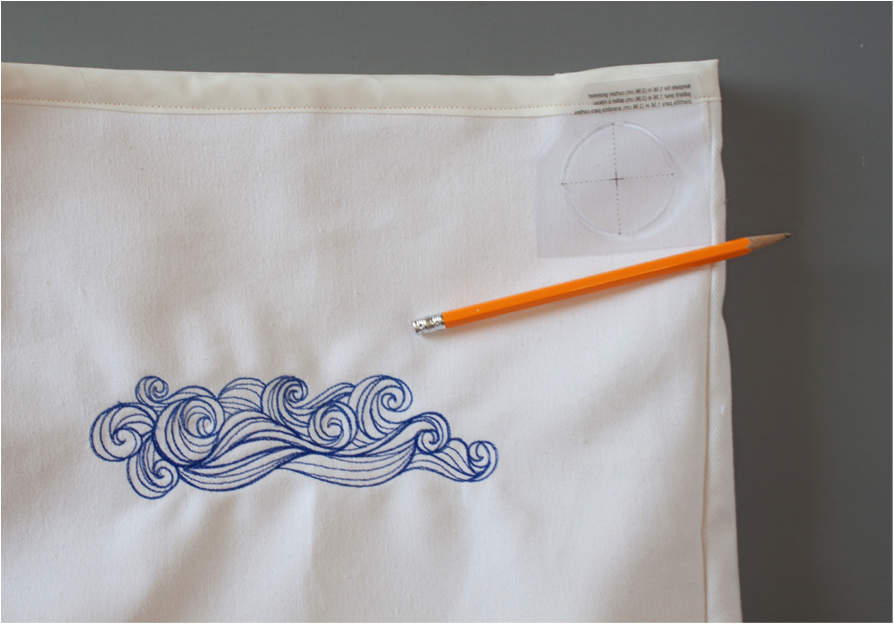
If you want to embroider a design on the outside of your bag, do so now on the right sides of your outer bag panels (the 2 15″ X 16″ panels). Note the 16″ sides are along the top and bottom of the bag. I used these patterns from Urban Threads: Hello Sailor and just the waves portion of Ship and Waves (Split).
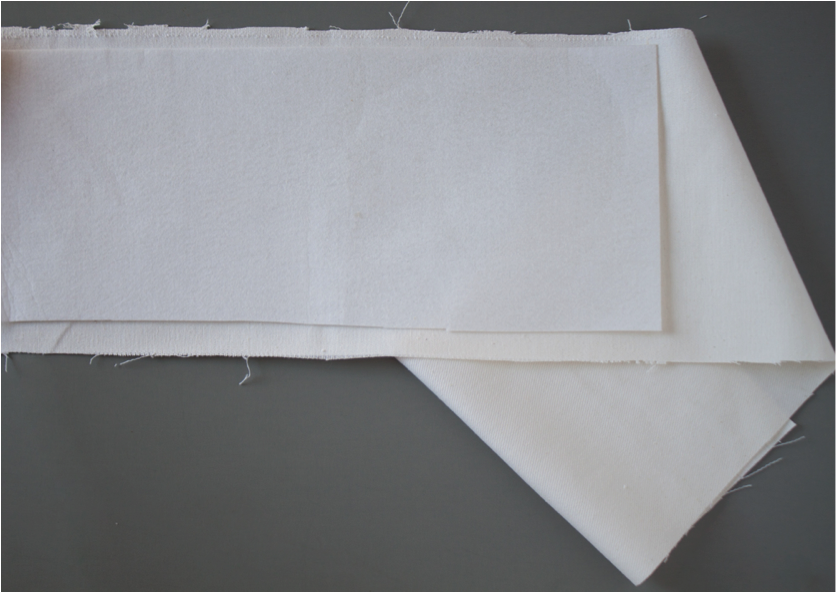
Now grab the 7″ X 45″ piece of the outer bag. Fold it in half to find the center and mark with a pin. Do the same with your heavy weight interfacing.

Unfold and align the center of the interfacing with the center of the bag bottom (wrong side), and iron in place.
Align the right side of the base of the bag with the right side of the bottom edge of one piece of the outer fabric and pin or clip in place (I’m using my favorite Clover Wonder Clips). You can sew this side on and then proceed to repeating the process with the other side of the outer bag, but I pinned both sides first, then sewed. Use a 1/2″ seam allowance throughout this tutorial.
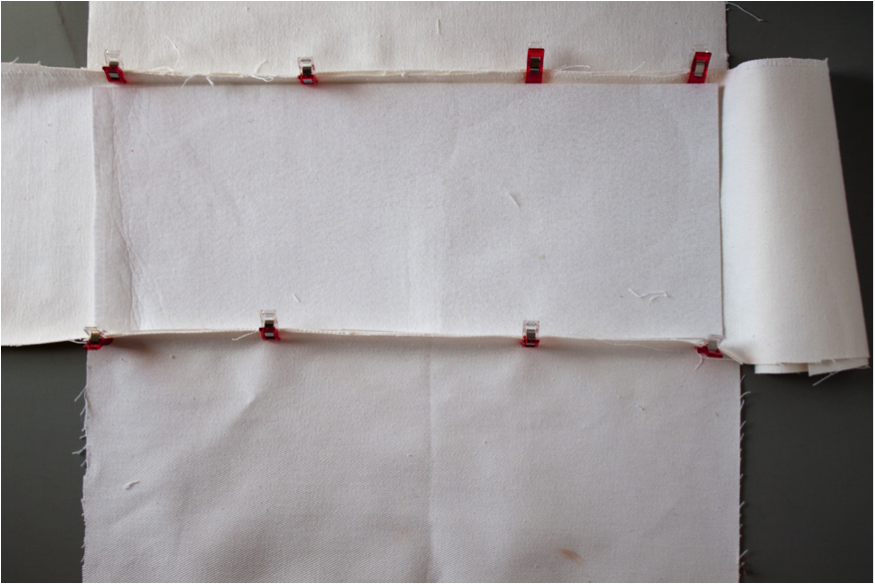
Now lay one outer panel right side up, and lift the side panel up to align the edges. Clip or pin, then sew in place along the unfinished edge.

Now align the other unfinished edge of the side piece with the other outer bag panel, right sides facing, and sew in place. Continue until all four corners of the bag are sewn, then turn right side out.
You will have a boxy shaped bag at this point.
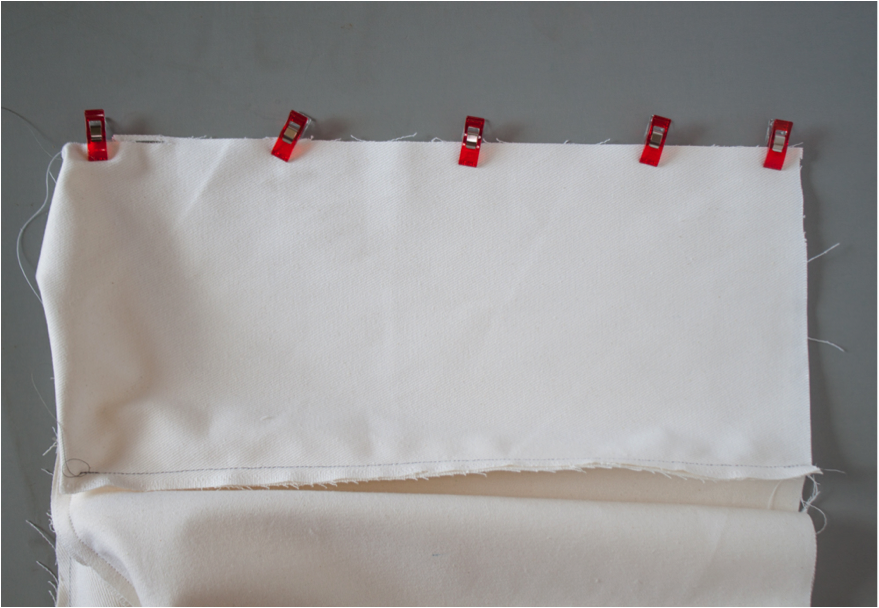
Repeat this process with your lining fabric. Leave the lining inside out, and slip it inside the outer. Clip or pin the top edges of the lining and outer bag together.

Baste the lining and bag together.
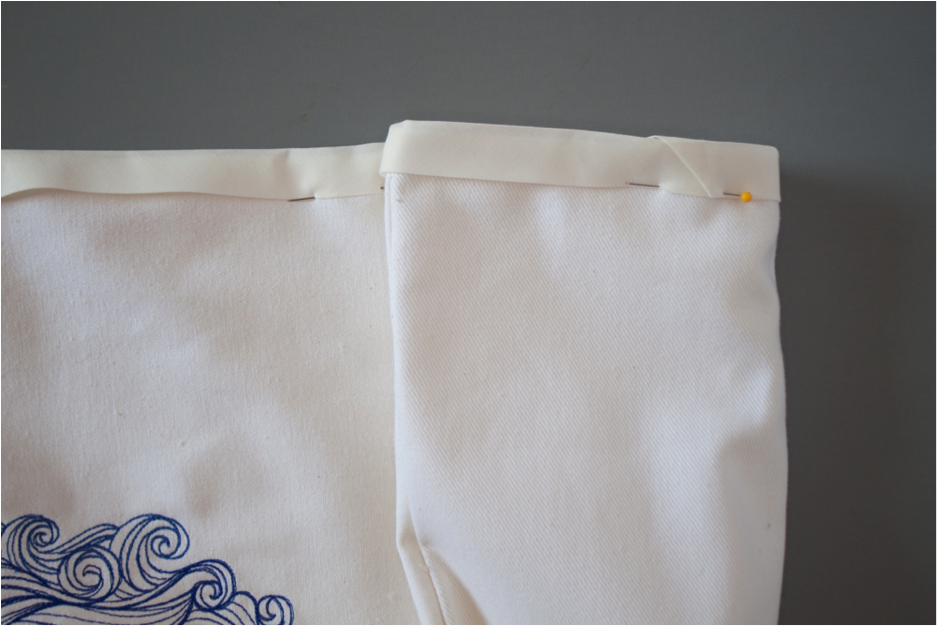
Now take your bias tape, and starting on one side, pin in place all the way around with the shorter edge of the bias tape on the outside of the bag. For a step-by-step on how to pin and sew bias tape, including how to start and finish (as pictured here), visit our post: How to Sew with Bias Tape.
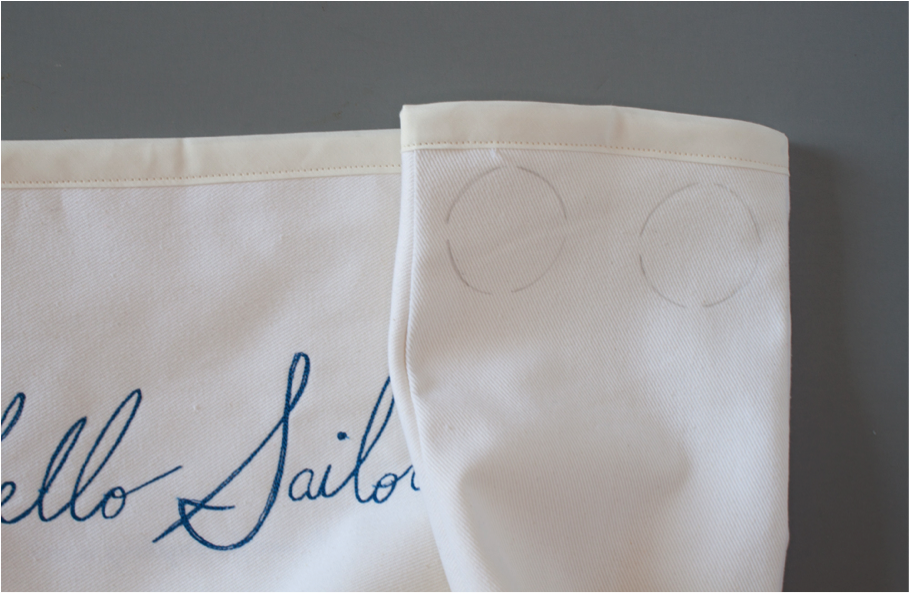
Now it’s time to attach our grommets. This is always the scariest part, but it’s quite easy. Your grommet set will come with a template like this one. Place the template at the top corner of each side of the front of your bag, 1/2″ from the top and 3/4″ from the side edge. Trace the grommet template. You will put a grommet at each corner of the bag, so two on the front and two on the back, like so:
Then you will also place 2 on each side.
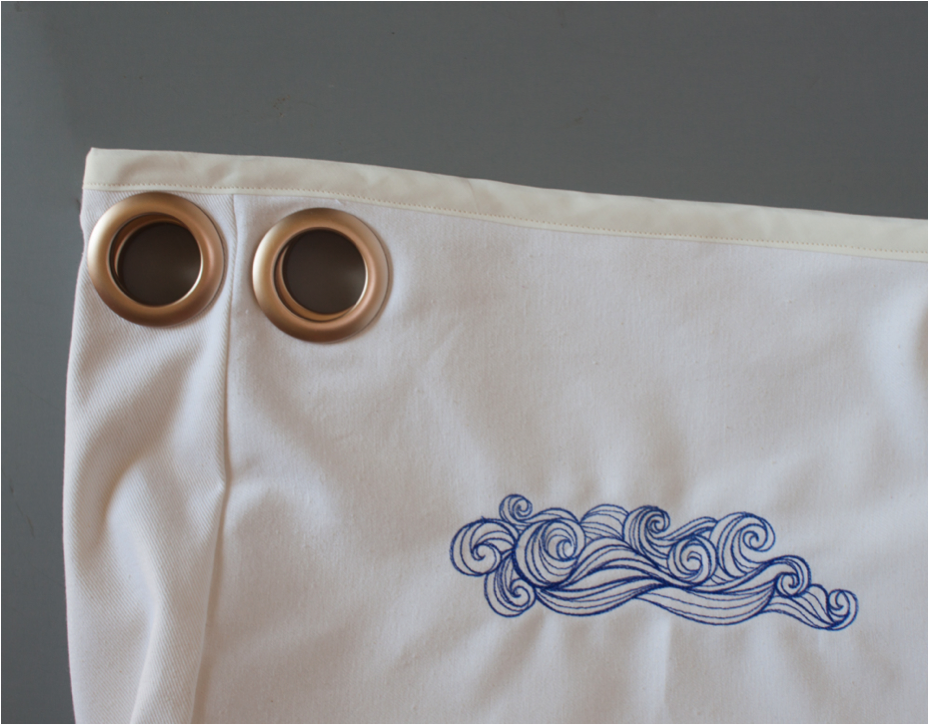
Take a deep breath, and cut out the holes for each grommet, and snap the grommet into place. Do each grommet one at time (as in cut the hole, attach the grommet, then move on to cutting the next hole) to make sure your lining doesn’t slip between grommets. When you are done, you can fold each side of the bag in to align the grommets. It will look like this:
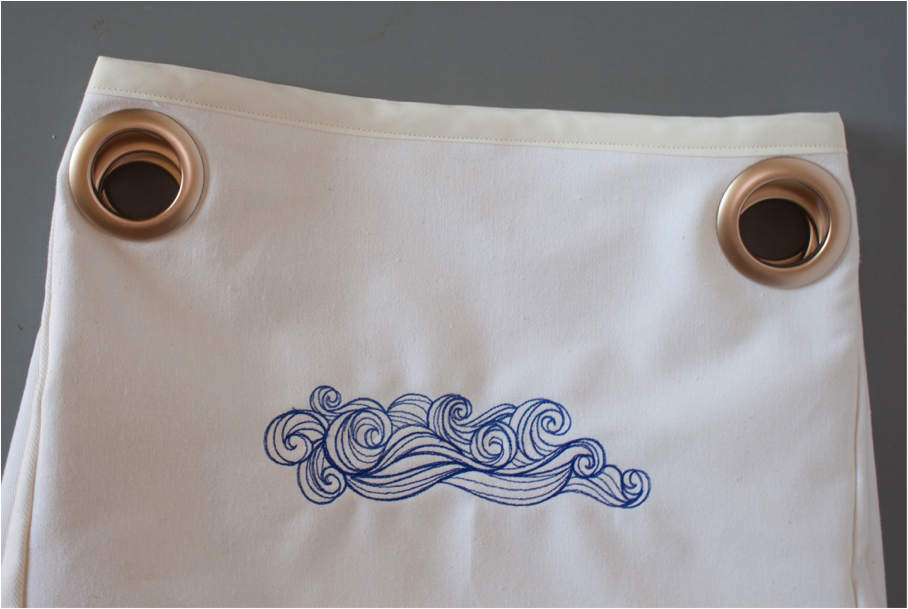
Just for the sake of clarity, unfolded, the bag will look like this:
Now, lay the bag in front of you. Take your cotton webbing and slip it through one corner grommet and the side grommet right behind it from front to back. Repeat with the other end of the cotton webbing, through the other corner grommet and the one behind it.
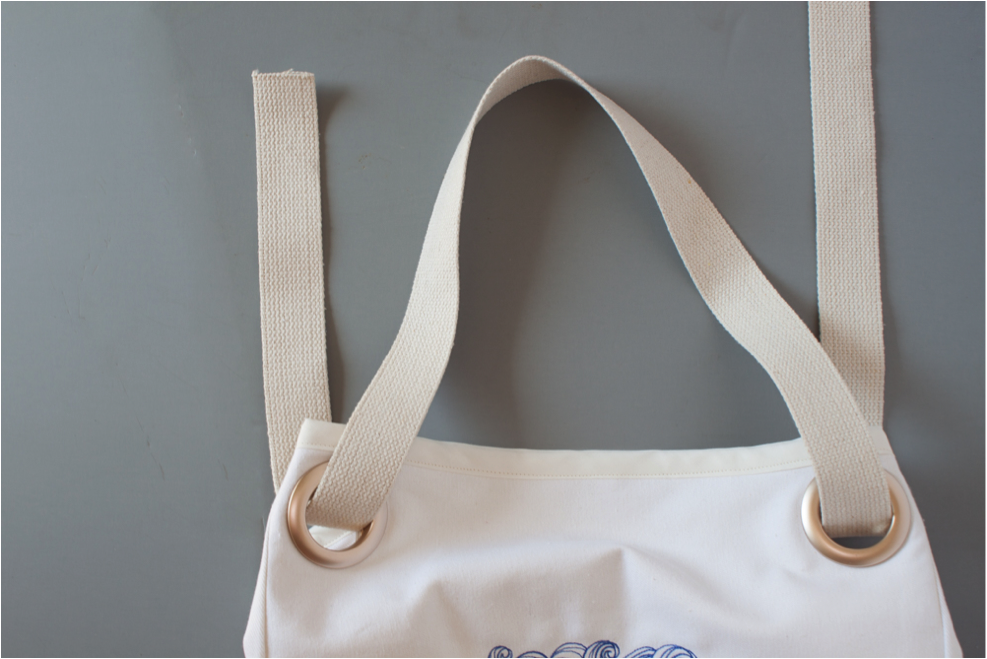
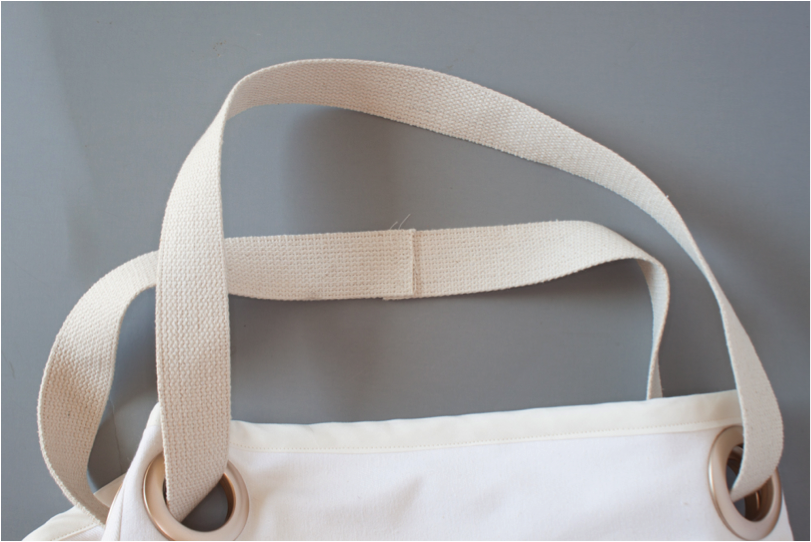
Bring the ends of the cotton webbing together, and sew in place with several zig-zag stitches back and forth.
Turn the bag over, and repeat this process on the other side to create your second strap.
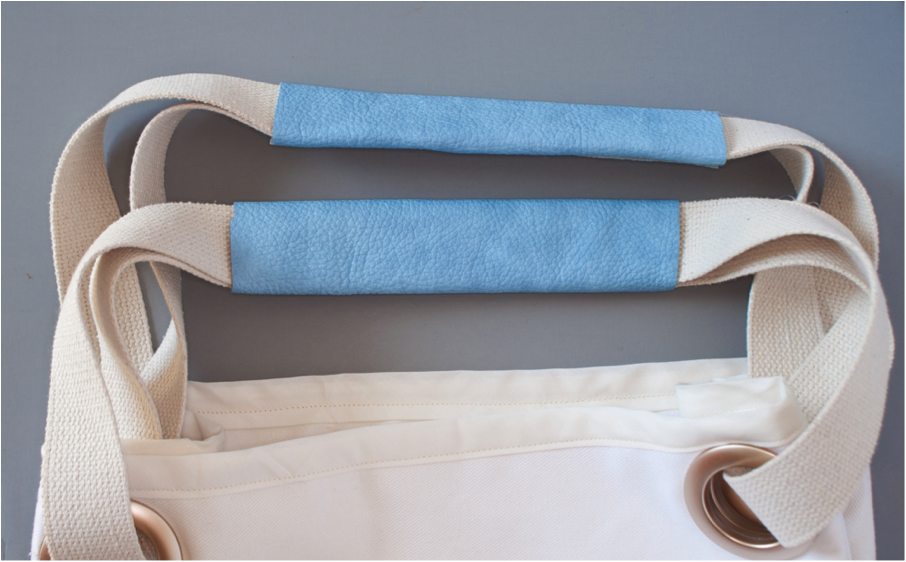
Now, the last and simplest step is to center your straps and glue them together, wrap with the leather (the 8″ edge of the leather along the length of the strap), and glue the leather in place. You can use hot glue for this step, easy peasy!
This post was created as part of my collaboration with Carnival. As always, all of the opinions, thoughts, and ideas in this post are my own.


Great bag! I’ve got a Craft Gossip post scheduled for later today that links to your tutorial:
http://sewing.craftgossip.com/tutorial-hello-sailor-grommet-tote/2014/10/28/
–Anne
[…] Hello Sailor! DIY Grommet Tote, by Pretty Prudent […]
[…] Hello Sailor! DIY Grommet Tote – 1 freebie(s)? […]