


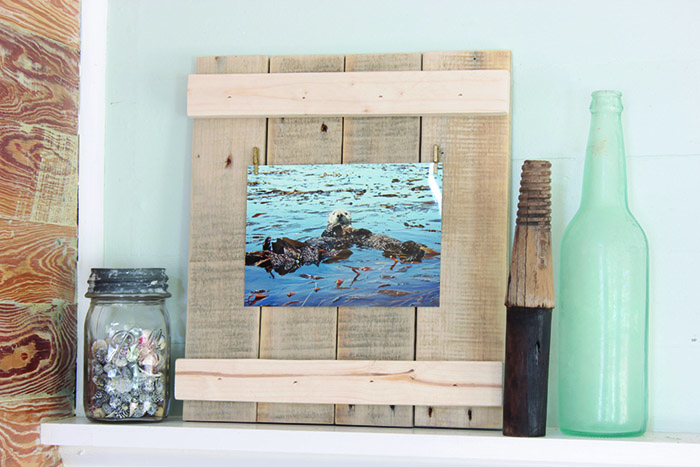
Now that fall is in full swing, bring a bit of rustic decor into your home by making a DIY Wood Pallet Picture Holder from this crafty book, DIY Wood Pallet Projects: 35 Rustic Modern Upcycling Ideas to Personalize Your Space. This simple project would also make the perfect holiday gift for friends and family. Today we are going to be sharing this fun project.
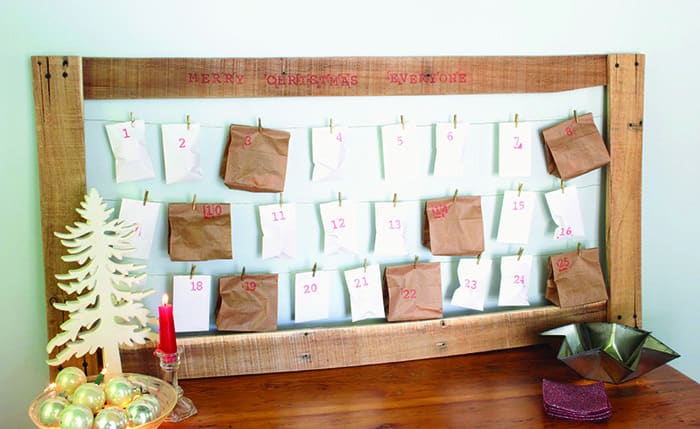
Included inside DIY Wood Pallet Projects: 35 Rustic Modern Upcycling Ideas to Personalize Your Space are a variety of projects for your home, including this Advent calendar.
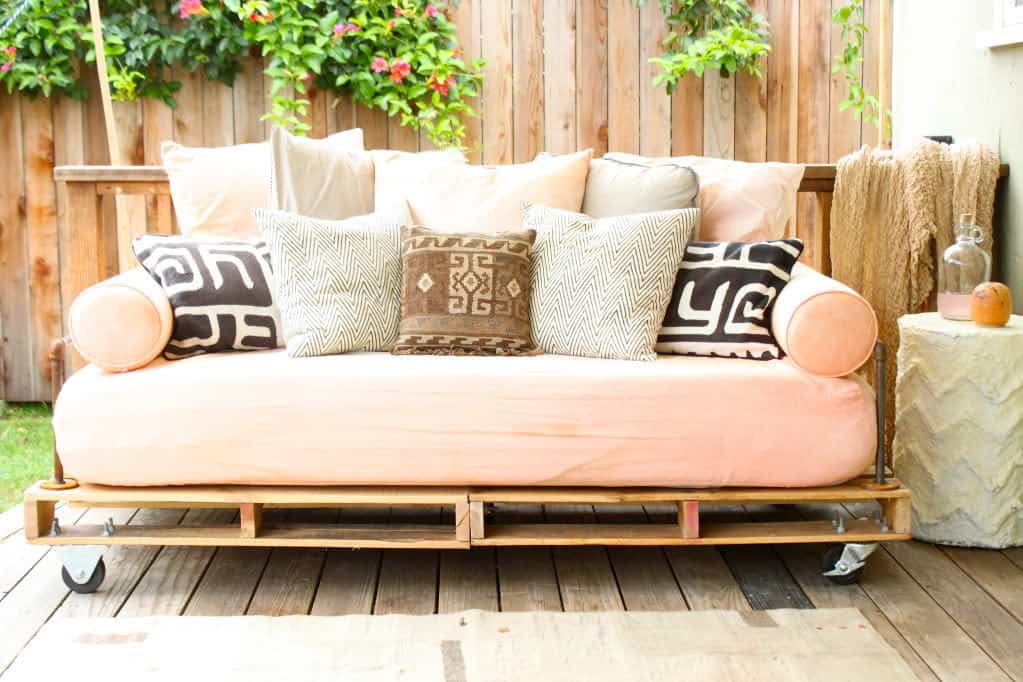
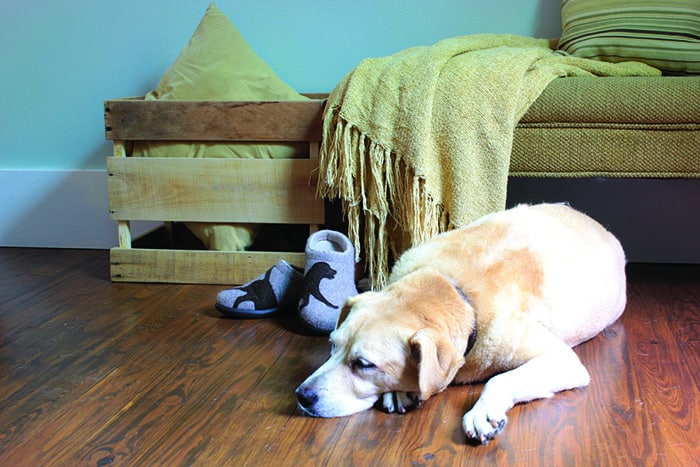
While you have your pallets out, you can also make Jaime’s pretty Pallet Daybed.
Find out how to make the Wood Pallet Picture Holder and enter for the chance to win a copy of DIY Wood Pallet Projects: 35 Rustic Modern Upcycling Ideas to Personalize Your Space after the jump…
Pallet Slat Picture Holder
The first option was inspired by a gift I received from my in-laws. The simple wood backdrop provides the perfect surface for a rustic photo display. The measurements in the tutorial work well for 5″ × 7″ photos. A good guide to keep in mind as you create your own is to make the frame about 8″ taller and 4″ wider than your photo. But I also love the look of a really wide mat board with a smaller, usually square, photo in the center. For that look, you could make your
wood slats overhang your photo by up to 10″ on each side, depending on the size of your photo.
investment: less than an hour and only a few dollars for a couple of small supplies if you don’t already have them on hand
supplies
photo to display
1 or 2 pallet slats (depending on the size of your frame)
2 (1×2) wood pieces, cut to match the width measurement of your frame—mine are 11½” long
medium-grit sandpaper
wood glue
1¼” nails
hot glue
2 small clothespins or clips
tools
tape measure
miter or handsaw
palm sander (optional)
hammer or nail gun
hot glue gun
1. Use your tape measure to measure your photo and use a miter or handsaw to cut your pallet slats to a length about 8″ longer than the height of your photo; mine are cut 13″. You will probably need 3–5 slat pieces cut this length depending on the size of your photo.
2. Lay your cut slats side by side with the slats running vertically and use your tape measure to measure the width of them all together.
3. Use a miter or handsaw to cut the 1×2s to this measurement (see image 1).
4. Use your palm sander and medium-grit sandpaper to sand each wood piece individually. Running the sandpaper along the corners of the wood pieces will give them a rounded edge.
5. Run a bead of wood glue on the flat side of each 1×2 and use your hammer or nail gun to attach the 1×2s to the pallet slats with the nails. Each 1×2 runs horizontally across each slat and is lined up based on your personal preference. The 1×2s shown in this photo are inset ¾” from the top and bottom, but could also be lined right up with the ends depending on which look you like better (see image 2).
6. Use your photo as a guide to determine where to hot glue each of your small clips onto the wood slats. Put them at the top corners of the photo you will be displaying to help prevent the photo from curling over time (see image 3).
7. Use your glue gun to hot glue the clips in place and let the glue dry.
8. Clip on your photo and enjoy!
Excerpted from DIY Wood Pallet Projects: 35 Rustic Modern Upcycling Ideas to Personalize Your Space Copyright © 2014 by Karah Bunde and published by F+W Media, Inc. Used by permission of the publisher. All rights reserved. Photos courtesy of Karah Bunde.
I usually make a few beaded ornaments!
glitter painted branches in a vase
[…] DIY Wood Pallet Picture Holder + Giveaway – 1 freebie(s)? […]
Christmas tree ornaments
I hope to made an advent calendar with my little girls
Nicely instructed. I will be trying to make one soon when I get some free time. 🙂