


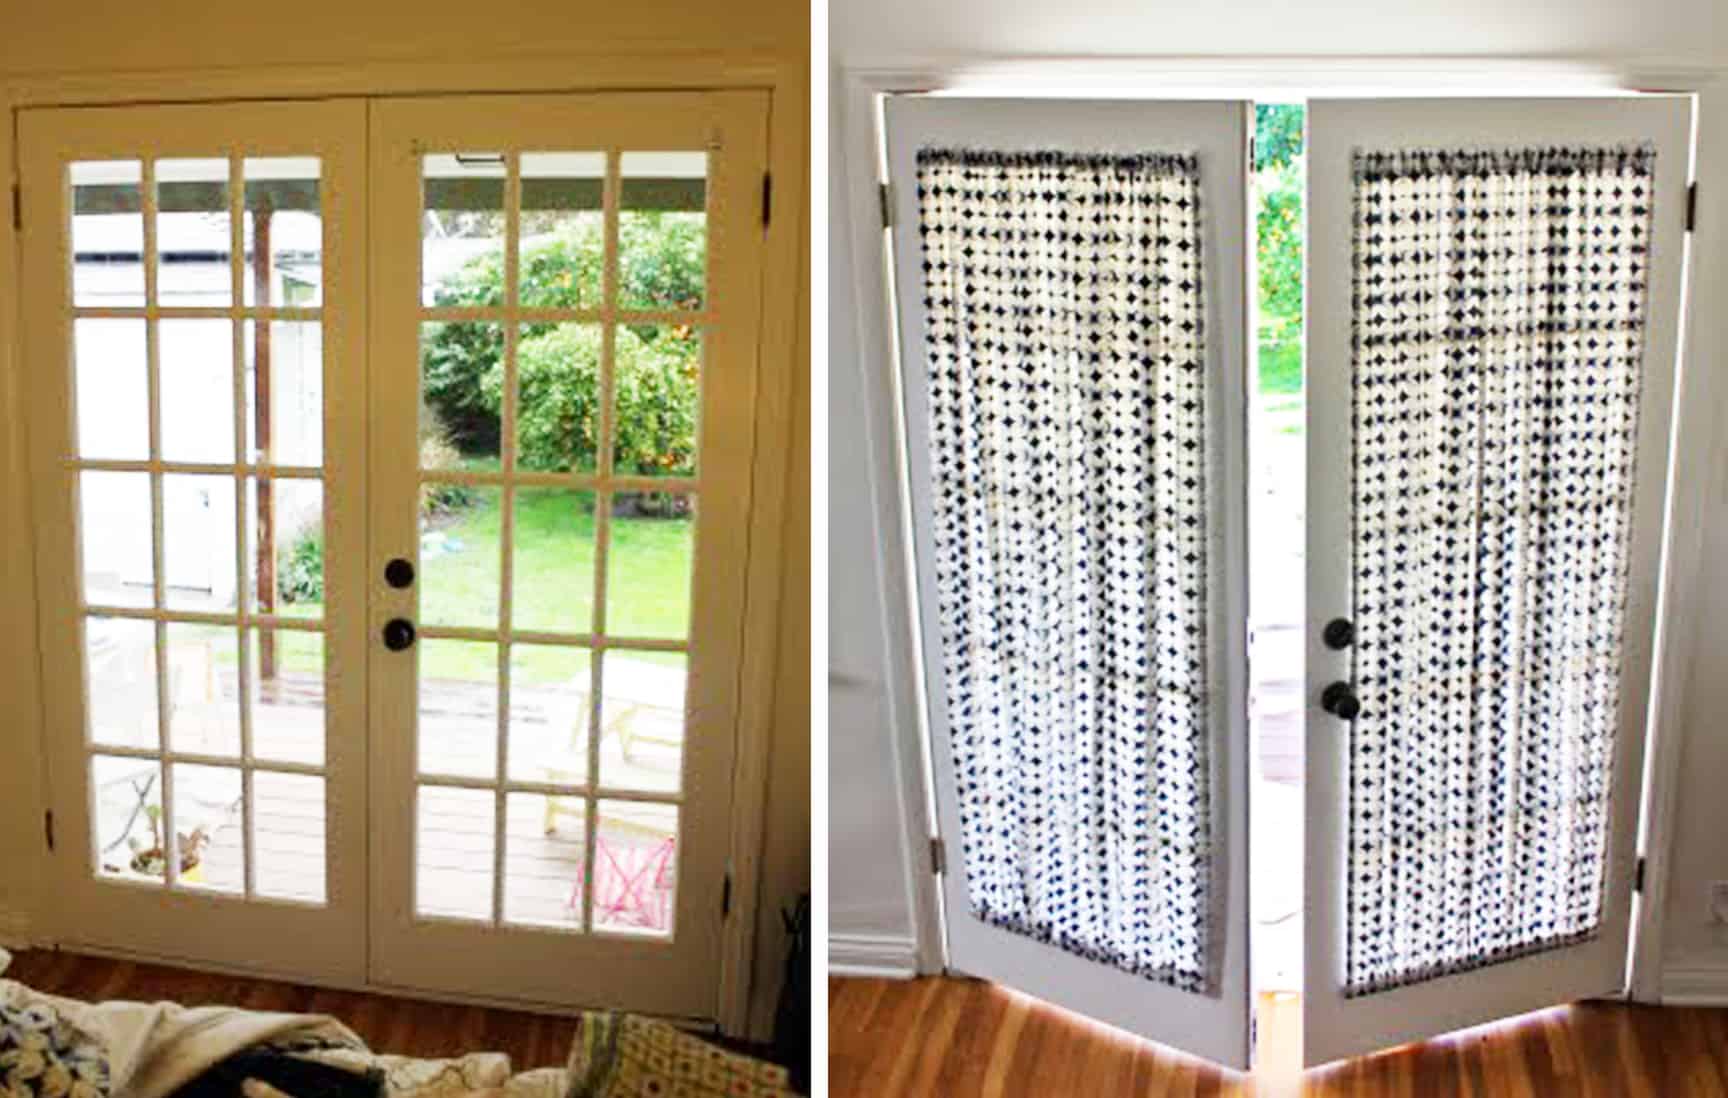
Surprisingly I think it was the quickest project I’ve done yet.
And thanks for the post POPSUGAR HOME!
1. First cut your old curtain or your fabric. Just measure the length you want your curtain to be and add 1.5 inches on each end (three inches total). For the width you want it to be double the width of your window so you get nice gathers.
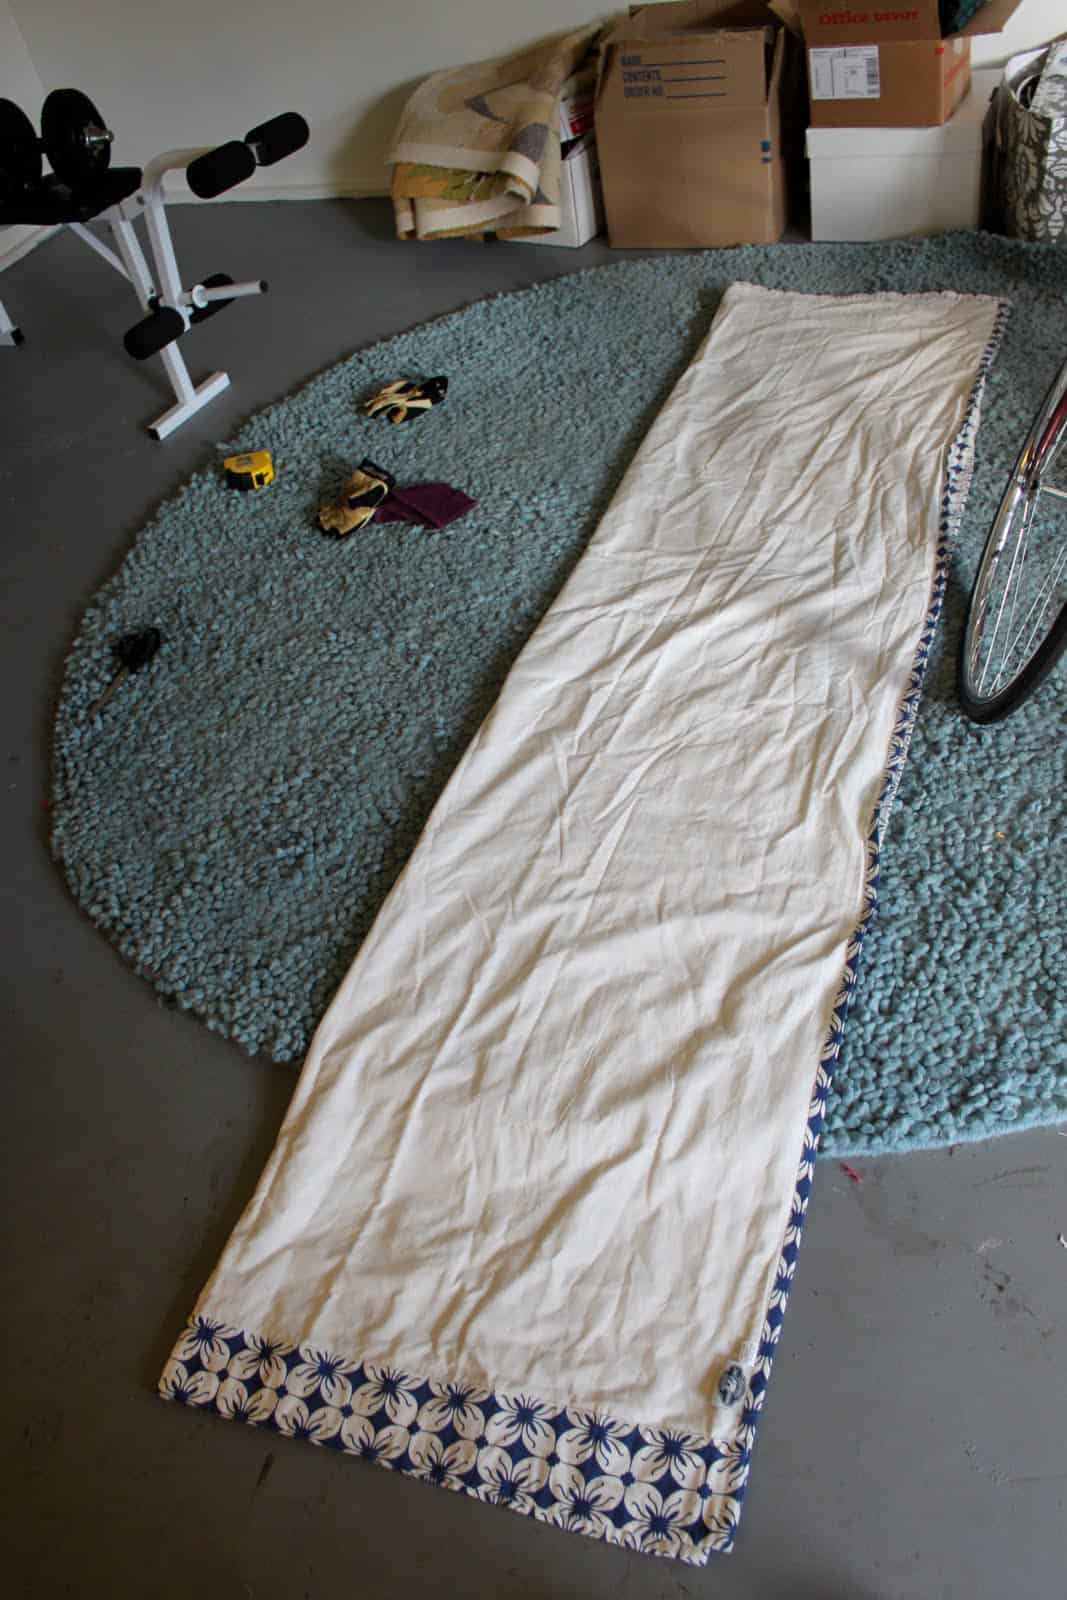
I used curtains that were already lined, but keep in mind that from the outside you will be able to see the back of the curtain through the windows, so use a fabric that looks good from both sides or add lining before going to the next step. Also because I used an old curtain, I did not have to hem the side edges – it was just already about double the width of my windows. If you are using fabric you want to hem the side edges now.
2. Now to create your rod pockets: Fold the top of your curtain edge down 1/4 an inch and iron, then another half an inch and iron again. Pin in place and sew:
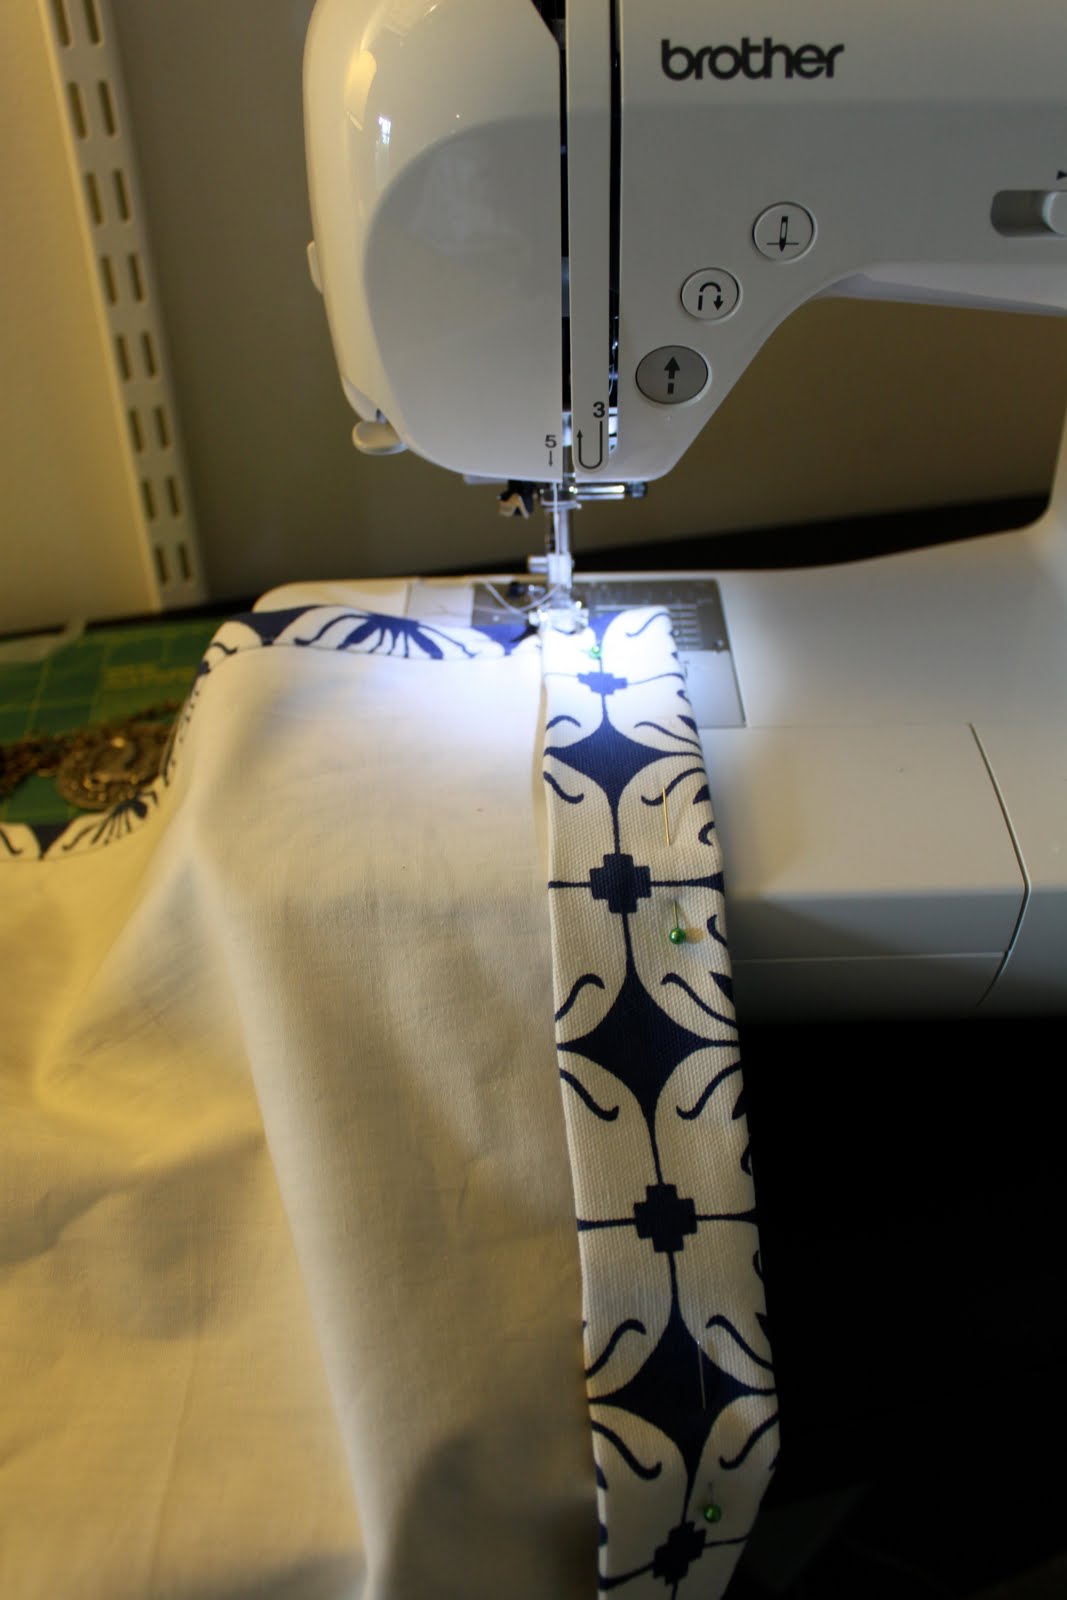
You’ve created your rod pocket:

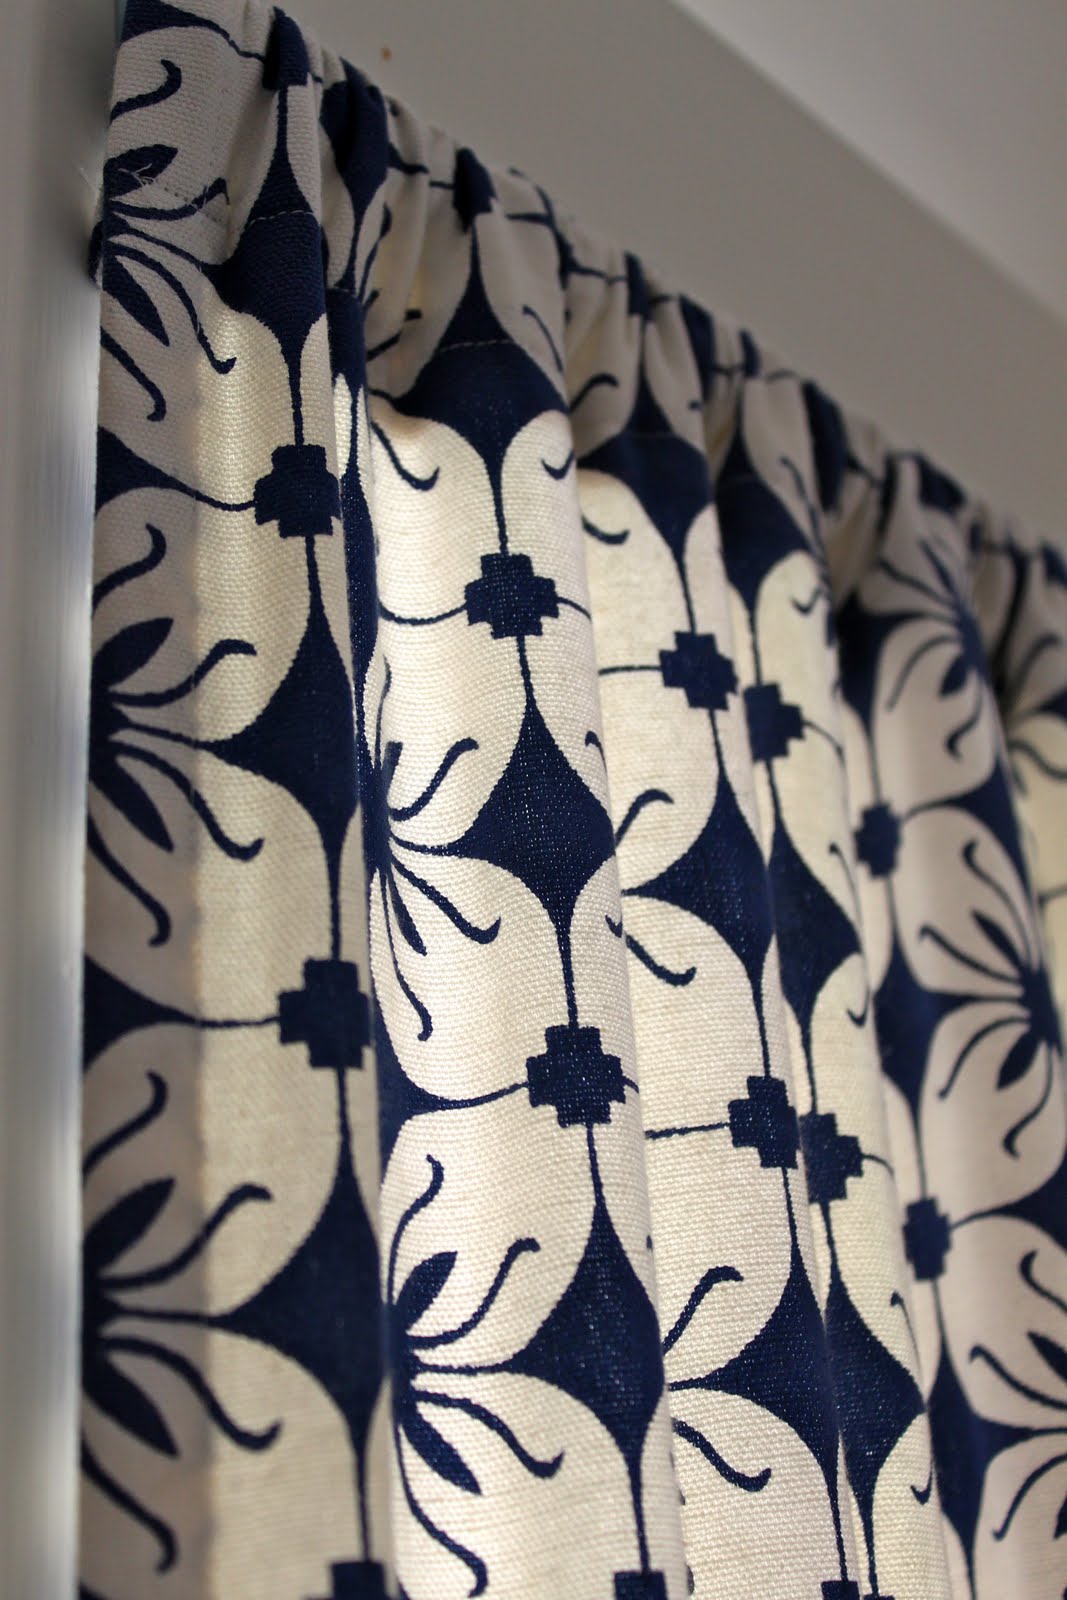
3. Repeat on the bottom of your curtain and any more curtains you want to make:

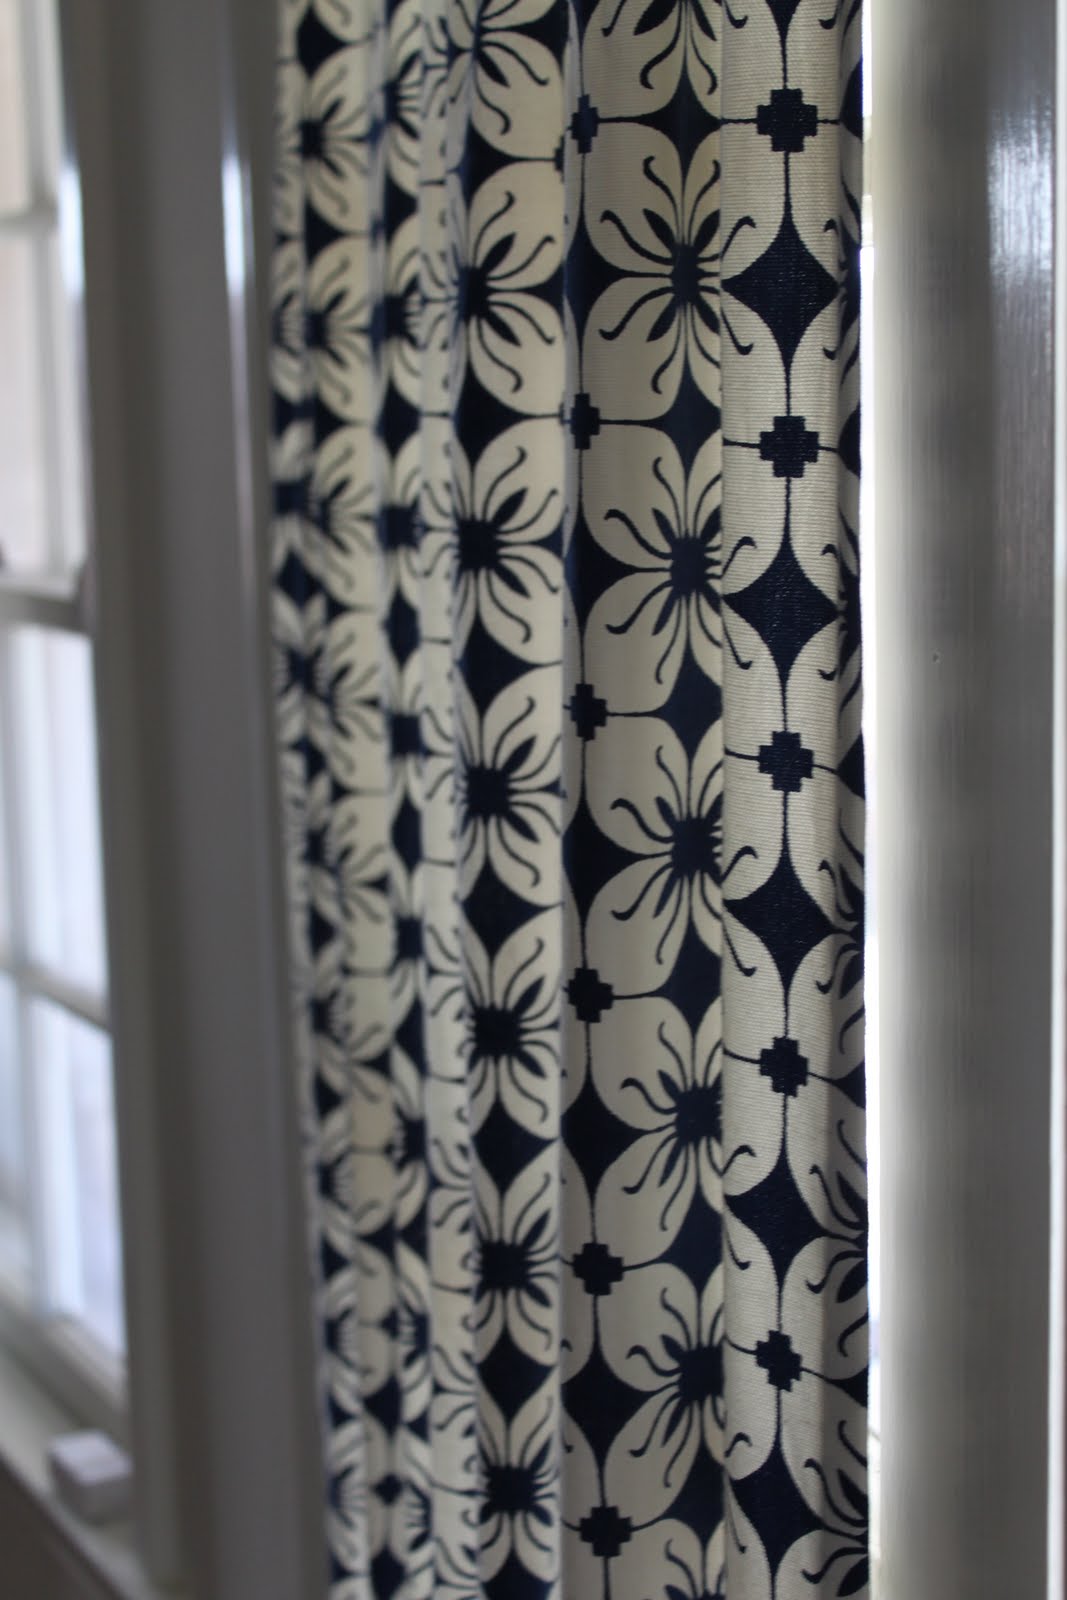
From the front it will look like this. A great side note: if your seam is uneven it won’t show when your curtain is gathered and hung:

4. Now attach your Flat Sash Rod![]() brackets to the top and bottom of your windows. Run the rod through your curtain, starting with the top and hang:
brackets to the top and bottom of your windows. Run the rod through your curtain, starting with the top and hang:

Which prevents any peeking room on the sides:
OH MY GOSH JAIME!!! These are so beautiful that me and other readers are speechless.
Beautiful! Now I wish I had doors to cover too!
omg i NEED to do this!!
you don't happen to have a before photo of your curtains do you? I have some i would like to do this to, but they are hanging and already have a rod pocket at the top…so i wonder if i just need to do the bottom. 🙂
Thanks for the tutorial! I always appreciate when bloggers take the time to help others along the way with sewing 🙂 I just bought fabric today to do these but am curious about the lining–if you are starting from absolute scratch…what do you use/do/measurements for making lining? Or can you buy it somewhere?
You can buy black out lining at Joann Fabrics!
Also, thanks for the link to the rod!
I’m in the process of making curtains for my french doors. I purchased some already made panels and plan to cut them to fit. I’m sure the width is fine, but unsure of the length. Should I cut them to 71″ and what about the size of the rod pocket? Also, what kind of curtain rod did you use. You did a great job. They look wonderful.
Thanks,
Bonnie
Hi, great tutorial. Can you tell me what rods you used on the top and bottom? I have several doors to cover, 5 sets upstairs and two down stairs. That would be alot of fabric. Maybe I’ll start with the upstairs. Thanks for this tutorial. Wish I had curtains already from somewhere. I’ll need to buy fabric.
I love what I see here. Since I’m new to all of this, I am sure I will find lots moe here to love.
[…] DIY Tutorial at prudentbaby.com […]
[…] DIY French Door Curtain Panel Tutorial Pretty Prudent source […]
[…] DIY French Door Curtain Panels from Prudent Baby […]
No need to sew gathers in?
Great tutorial, but rods vary in size. I needed to fold over closer to an inch for the pocket.
Thank you for sharing DIY French Door Curtain Panel, It’s so nice